What does feather edging mean in a coating repair?
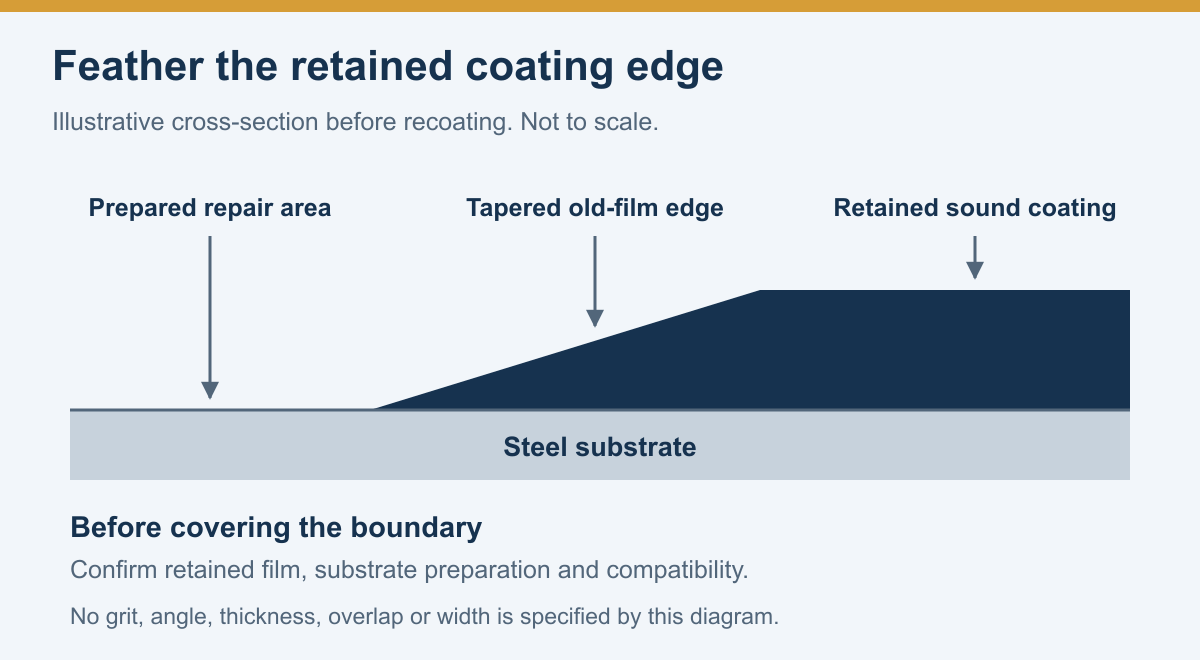
To feather edge paint, taper the edge of retained, sound coating into the prepared repair area so the replacement coating does not meet an abrupt old-film step. Establish a stable repair boundary first, then use the preparation method approved for the substrate and coating system. Feathering cannot secure loose paint or establish compatibility with an unidentified old coating.
For ship repair contractors and inspectors, the important distinction is between shaping an edge and accepting the material left behind. A visually smooth transition still needs the specified checks for coating condition, cleanliness and the proposed repair system. This guide explains that transition and offers a repair record for the work.
Find the sound-coating boundary before shaping the edge
Hempel's maintenance and repair preparation guideline, issued May 2020, describes feathering as reducing sharp transitions between intact paint and the underlying surface. Its repair guidance also distinguishes edge treatment from roughening the adjacent retained coating. The document provides general manufacturer context; the actual project procedure and product instructions govern the repair.
Identify the existing coating, substrate and service area. Map the visible damage and review the evidence for retaining surrounding paint. Where lifting, cracking or under-film deterioration continues beyond the proposed patch, have the boundary reassessed. Do not make the drawing's outline more important than the condition found on site.
Use the inspection method and acceptance basis required by the project to assess retained coating. Appearance alone does not establish adhesion. Record any required checks separately from the feathered-edge observation. Our marine paint peeling guide discusses the broader failure investigation; this article concerns the transition once the repair scope is agreed.
Before disturbing old material, confirm the site's assessment of the existing coating and the authorized controls for the selected preparation work. Resolve uncertain coating identity or hazardous-material requirements through the responsible site personnel. This article does not select dust-control equipment or authorize a particular removal tool.
Agree the repair system and preparation sequence
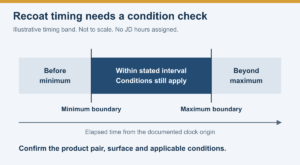
Obtain a repair procedure that identifies the substrate preparation, retained-coating treatment, compatible replacement products and layer sequence. It should also state the applicable overlap, film-thickness and recoat requirements. If those details are missing, ask the coating supplier before assigning a sanding grit or drawing a dimensioned transition.
The JD marine epoxy primer preparation guide calls for substrate assessment, contamination control, system compatibility and confirmation against the latest product TDS. It is a planning summary. It does not establish one feathering geometry for every old coating or repair material.
The following is an editorial sequence for organizing the approved work, not a substitute for its operating instructions.
| Stage | Work to coordinate | What to record |
|---|---|---|
| Confirm and clean | Identify the repair and complete the specified contamination-removal stage before mechanical preparation | Area ID, coating identity, cleaning method and required results |
| Remove defective material | Prepare the selected substrate and remove unsound coating to the agreed stable boundary | Actual patch extent, exposed substrate and changes from the initial map |
| Taper the retained edge | Use the authorized method to reduce the abrupt step while retaining the accepted surrounding film | Boundary condition and any newly exposed lifting or defects |
| Prepare adjacent coating | Treat the retained overlap area as specified for the next layer | Required abrasion/roughening, compatibility basis and overlap reference |
| Clean, inspect and rebuild | Remove preparation residues, complete the required release checks, then apply the approved repair layers | Precoat release, products/layers, application records and outstanding items |
Keep substrate preparation and old-coating abrasion identifiable as separate tasks. A smooth paint edge does not document the substrate's cleanliness or profile. Likewise, an adequately prepared patch does not establish that the surrounding coating is ready for overlap.
Inspect the transition before covering it
Arrange the inspection while the prepared boundary is visible. Use the following hold-point checklist alongside the project's specified acceptance criteria. The observations are decision prompts, not quantified acceptance limits.
| Check | Question for the inspector | Hold or refer when |
|---|---|---|
| Retained coating | Has the agreed sound boundary been established and documented? | Loose, lifting or otherwise suspect film remains at the boundary |
| Edge transition | Has the abrupt old-film step been reduced as required? | A sharp ledge remains or preparation exposes further damage |
| Adjacent overlap area | Is the retained surface treated for the specified repair layer? | Compatibility or the required surrounding preparation is unresolved |
| Prepared substrate | Do the separate preparation results meet the approved basis? | Required cleanliness/profile evidence is missing or unacceptable |
| Final condition | Are preparation residues and the required environmental checks addressed? | Dust, contamination or a required condition check remains unresolved |
| Repair build-up | Are products, layer sequence, overlap and recoat requirements available? | The crew would need to improvise a product or application requirement |
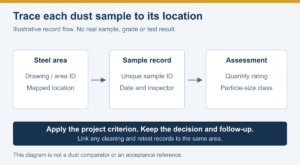
If the boundary changes during preparation, update the map and obtain the required review. Keep photographs tied to an area ID and stage, with scale information where the project requires it. A close-up without location or context may be difficult to relate to the finished repair.
Feathering an old paint boundary is distinct from reinforcing a steel detail with an additional coating pass. Where the repair includes welds or structural edges, use the separate stripe-coating inspection guide and the specified repair system for that task.
Keep one record from repair map to release
This blank repair-map record is an original documentation aid. It contains no project measurements or implied approval.
| Record group | Information to enter |
|---|---|
| Location | Vessel/structure, compartment or grid, repair ID, drawing and photograph references |
| Existing system | Known coating/layers, substrate, service exposure and evidence supporting retention |
| Repair boundary | Initial and actual extent, observed defects, changes and review references |
| Preparation | Specified methods, substrate results, feathered-edge observation and adjacent-coating treatment |
| Compatibility and geometry | Approved products, layer sequence, overlap/transition requirements and their document references |
| Before coating | Cleanliness/environmental records as required, inspector, date/time and release decision |
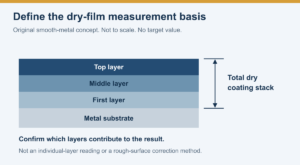
| Rebuild | Product/component and batch IDs, applied layers, thickness records with units, recoat and cure references |
| Close-out | Outstanding areas, corrective work, required final inspections and authorized release |
Record numerical dimensions only when the approved procedure supplies them. State the unit, such as mm, and identify the requirement being checked. Do not infer a taper angle, repair width or overlap distance from the schematic. Preserve the preparation photographs after the new coating conceals the original boundary.
Confirm the JD product requirements for the actual repair
Start with the intended marine epoxy primer system and the identified old coating. Request the current controlled TDS, relevant component SDS and written repair/compatibility instructions. The reviewed public JDH815 sheet does not specify feathering angle, sanding grit or overlap geometry. No universal JD repair dimension or product-equivalence claim is assigned here.
Frequently asked questions
Can I feather loose paint and coat over it?
Establish the accepted sound boundary first. Shaping the edge does not turn loose or poorly attached material into a suitable repair foundation.
What grit and taper angle should I use?
Use the approved instructions for the substrate, retained coating and repair system. There is no universal value in this guide, and the illustration supplies no dimensional acceptance criterion.
Does feathering prove that the new paint is compatible?
No. Confirm the existing system and the proposed repair products separately. A smooth transition addresses edge shape, not chemical or service compatibility.
Request a localized repair-system review
Send JD Marine Paint the repair details: substrate, vessel/service area, old-coating identity and condition, mapped patch photographs, proposed repair products and any compatibility or overlap requirements. Include the preparation method and inspection questions so the discussion can address the actual boundary and rebuild sequence.