Marine primer application succeeds when surface cleanliness, environmental conditions, mixing, film thickness, and recoat timing are controlled as one process. This guide focuses on application and troubleshooting. For selecting a primer by substrate and service area, begin with the marine primer selection guide.
Before You Apply Marine Primer
- Confirm the primer, thinner, intermediate coat, and finish are part of a compatible system.
- Read the latest TDS and SDS for mix ratio, induction time, pot life, nozzle size, film thickness, recoat interval, and curing limits.
- Inspect the substrate, welds, edges, repairs, and existing coating before preparation begins.
- Prepare inspection tools for temperature, relative humidity, dew point, wet-film thickness, dry-film thickness, and surface cleanliness.
Step 1: Prepare the Surface to the Specified Standard
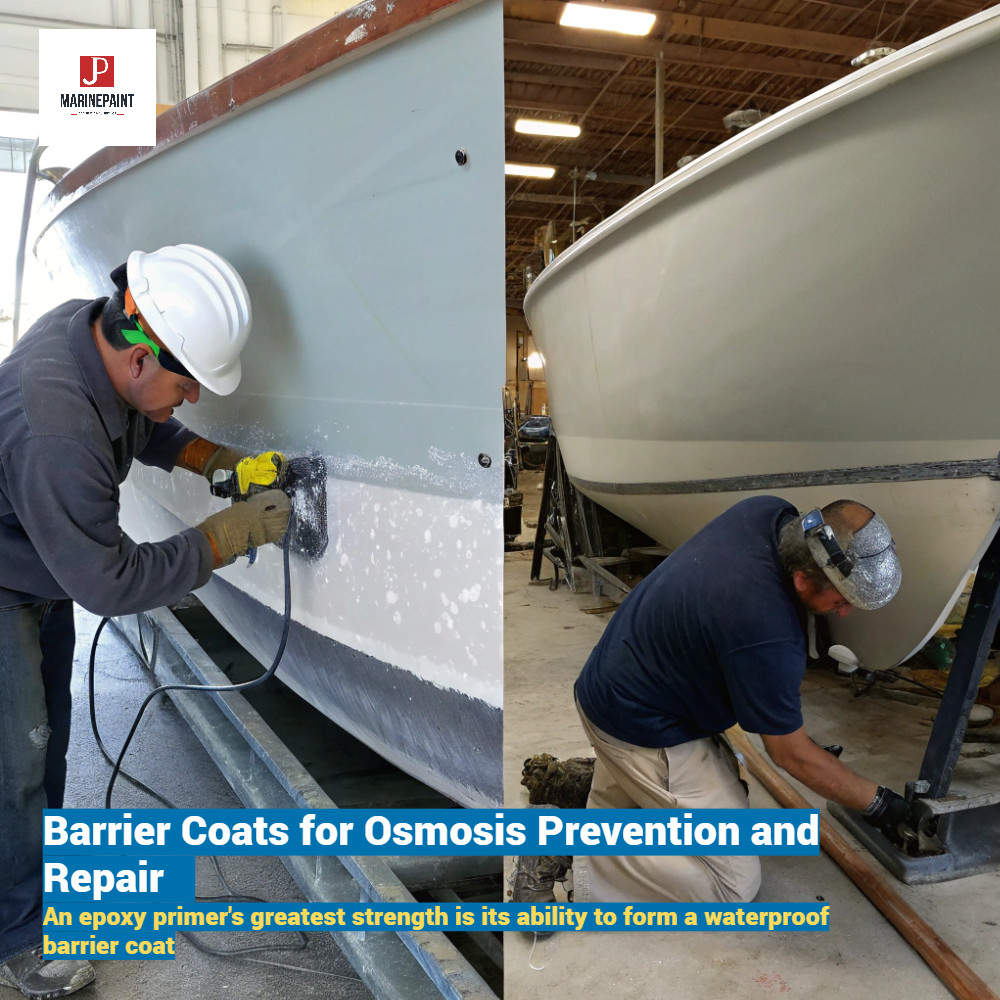
Remove oil and grease before abrasive blasting, grinding, or sanding. Blasting contaminated steel can drive oil or soluble salts into the surface. After preparation, remove dust and spent abrasive and inspect the surface profile.
For steel, the project may call for abrasive blasting to a condition such as Sa 2.5 or an SSPC/NACE equivalent. Maintenance work may allow power-tool cleaning and a surface-tolerant primer. Aluminum, galvanized steel, fiberglass, and existing coatings require different preparation methods. The coating specification and TDS control the choice.
Areas That Need Extra Attention
Round sharp edges where required, repair weld spatter and laminations, open corrosion pits, and feather the edges of sound existing coatings. Apply stripe coats to welds, edges, bolts, cut-outs, and complex geometry when specified.
Step 2: Check Environmental Conditions
Measure air temperature, substrate temperature, relative humidity, and dew point at the work area, not only at the start of the shift. Conditions can change quickly inside tanks, on shaded steel, or near the water.
- Keep the substrate above the minimum dew-point margin stated in the TDS.
- Do not coat visible condensation, frost, or wet surfaces.
- Maintain ventilation without blowing dust onto wet paint.
- Confirm the product can cure at the expected minimum temperature.
Step 3: Mix the Primer Correctly
Premix each component, combine the base and curing agent at the specified ratio, and mix until uniform. Observe any stated induction time. Do not split kits by eye. If partial mixing is necessary, use calibrated equipment and the exact volume or weight ratio permitted by the manufacturer.
Pot life begins after components are mixed and shortens as temperature rises. A mixed epoxy can become unusable before it looks solid. Discard material that has exceeded pot life; adding thinner does not restore its chemical performance.
Step 4: Adjust Equipment and Apply a Uniform Film
Use the recommended airless spray tip, pressure, hose, filters, brush, or roller. Add only the approved thinner and only within the permitted range. Excessive thinner reduces wet-film build, increases solvent release, and can cause runs or extended curing.
- Apply the stripe coat where required.
- Hold the spray gun square to the surface at a consistent distance.
- Use controlled overlapping passes to avoid light and heavy bands.
- Measure wet-film thickness during application.
- Inspect for misses, pinholes, dry spray, sags, and contamination before the film cures.
Step 5: Control Dry-Film Thickness
Coverage should be calculated from solids by volume and specified dry-film thickness. After curing, measure dry-film thickness using calibrated equipment. Too little film may reduce barrier protection; excessive film can create solvent entrapment, cracking, slow cure, or poor intercoat adhesion.
| Observation | Likely causes | Corrective direction |
|---|---|---|
| Low DFT | High thinning, fast travel, poor atomization, rough profile allowance not considered | Correct equipment and apply an approved additional coat within the recoat rules |
| High DFT or sags | Slow travel, tip too large, excessive overlap, low viscosity | Remove or smooth defects as specified and verify cure before overcoating |
| Pinholes | Porous substrate, trapped air, high film build, poor spray setup | Repair after cure using the approved method; adjust application technique |
| Dry spray | Gun too far away, high pressure, wind, fast solvent, poor angle | Correct setup and abrade or repair the rough film before the next coat |
Step 6: Respect the Recoat Window
Record application time and temperature for every coat. Overcoating too early can trap solvent or disturb the film. Overcoating after the maximum interval can reduce intercoat adhesion unless the surface is cleaned and mechanically prepared as directed.
When the surface has been exposed outdoors or inside a contaminated tank, remove salts, dust, amine blush, oil, and other contamination before the next coat, even when the calendar interval appears acceptable.
Marine Primer Troubleshooting
Poor Adhesion or Peeling
Investigate contamination, insufficient profile, weak existing paint, condensation, incorrect primer, expired material, improper mix ratio, and missed recoat windows. Do not simply apply another coat over a failed layer. Determine the boundary of sound coating, remove defective material, restore preparation, and rebuild the system.
Blistering
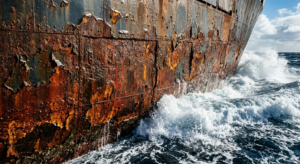
Possible causes include soluble salts, moisture, osmotic pressure, solvent entrapment, cathodic disbondment, or immersion before full cure. Blister type and distribution matter. Open representative areas, document the condition, and inspect the substrate before selecting a repair.
Soft or Uncured Film
Check mix ratio, mixing completeness, temperature, thinner, induction time, and product shelf life. Increasing heat or ventilation may help only when the chemistry is correct. Incorrectly mixed material normally requires removal.
Rust Spotting and Edge Failure
Common causes are low film thickness over peaks, missed stripe coats, flash rust, salts, and poorly prepared welds or edges. Repair preparation must extend to sound coating and include correct edge treatment and stripe coating.
Intercoat Delamination
Look for chalking, amine blush, contamination, excessive recoat time, incompatible products, and an overly smooth cured film. Clean and abrade as specified before recoating.
Inspection Records to Keep
- Batch numbers, mix ratio, induction time, pot life, and thinner use.
- Air and substrate temperature, humidity, and dew point.
- Surface preparation standard, profile, dust, and salt readings.
- Wet- and dry-film thickness by area and coat.
- Application start and finish times and recoat intervals.
- Defects, repairs, photographs, and final acceptance.
When to Ask for Technical Support
Stop and obtain guidance when the substrate is unknown, the existing coating cannot be identified, soluble salts remain high, environmental limits cannot be maintained, a tank requires certification, or the proposed products are not listed as a compatible system.
For corrosion-system design and primer families, use the marine primers for corrosion control guide. For product-specific support, send the substrate, preparation method, service area, climate, application equipment, and required DFT through the JD Marine Paint contact form.