A peeling, blistering paint job ruins your boat’s look and signals deeper issues. The unsung hero preventing this is a high-quality marine primer, the true foundation for lasting protection.
A marine primer, also known as a boat primer or marine undercoat, is a foundational coating applied to a vessel’s surface before the finish paint (topcoat). Its primary purpose is to create a perfect, unified layer that ensures the topcoat adheres properly and lasts longer. It serves multiple critical functions: providing a tenacious bond between the substrate (like fiberglass or steel) and the paint, offering superior corrosion protection for metal hulls, and creating an impermeable waterproof barrier to prevent issues like osmosis and blistering in fiberglass 1. Using the right marine paint primer is not just a preparatory step; it’s the most important investment you can make in the longevity and durability of your boat’s entire paint system. Without it, even the most expensive topcoat is destined to fail.
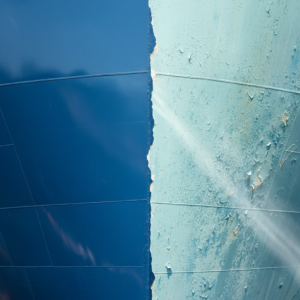
![[Image Placeholder]A visually appealing split-shot photo showing the underwater hull of a boat. Half the hull is freshly coated in a smooth, professional-looking marine primer (e.g., a light grey epoxy primer), and the other half shows the prepared, sanded fiberglass substrate, ready for priming.](https://jdmarinepaint.com/wp-content/uploads/2025/07/a-visually-appealing-split-shot-photo-showing-the-2.png "[Image Placeholder]A visually appealing split-shot photo showing the underwater hull of a boat. Half the hull is freshly coated in a smooth, professional-looking marine primer (e.g., a light grey epoxy primer), and the other half shows the prepared, sanded fiberglass substrate, ready for priming.")
This guide will walk you through everything you need to know, from the essential functions of a marine primer to choosing the exact right type for your specific boat. Let’s build that flawless finish from the ground up.
What is a Marine Primer and Why Is It So Essential for My Boat?
You’ve seen it before: a once-beautiful boat showing signs of rust, blistering, or peeling paint far too soon. It’s a frustrating and costly problem. The cause often isn’t the topcoat, but what lies beneath—or what doesn’t. A missing or improperly chosen marine primer creates a weak link in your boat’s protective shield, leaving it vulnerable to the relentless attack of the marine environment. Understanding the essential role of a boat primer is the first step to ensuring your hard work and investment result in a durable, professional finish that lasts for years.
A marine primer is the critical link between your boat’s surface and its protective topcoat. Its role is multifaceted and absolutely essential for a durable paint job. The specific functions of a marine undercoat solve the most common and damaging problems boat owners face:
- Creates a Durable Bond: A primer’s core function is to ensure superior adhesion. It’s formulated to grip tenaciously to challenging marine substrates like gelcoat, aluminum, or steel and provides an ideal surface for the finish paint to lock onto 1. This prevents the peeling and flaking associated with paint failure.
- Provides Corrosion Protection: For steel and aluminum hulls, this is a primer’s most critical job. Anti-corrosive primers, like our JDH06-4 Epoxy Zinc-Rich Anti-Rust Primer or JDH819 Epoxy Zinc Phosphate Primer, create a barrier that actively fights rust and corrosion, safeguarding the structural integrity of the hull 25924.
- Forms a Waterproof Barrier: Below the waterline, primers are the first line of defense against water absorption. A high-quality 2-part epoxy primer cures into a hard, non-porous shell, providing exceptional osmosis prevention and stopping blisters before they can form on fiberglass hulls 1.
- Fills Minor Imperfections: High-build marine primers can fill minor scratches and surface imperfections, creating a perfectly smooth and fair surface. This reduces the need for extensive fairing and ensures your gloss topcoat has a flawless, mirror-like finish 315.
Is a Marine Primer Really Different from a Regular Household Primer?
When facing a painting project, it can be tempting to reach for a general-purpose or household primer you already have in the garage. It saves a trip to the store and a little bit of money, right? This seemingly small shortcut, however, is one of the most critical mistakes a boat owner can make. The benign conditions inside a house are a world away from the harsh, unforgiving marine environment your vessel endures. Using a product not engineered for this specific challenge will inevitably lead to catastrophic paint failure, costing you far more in time and materials to fix than you initially saved.
The difference between a marine primer and a regular household primer is as vast as the difference between a puddle and the ocean. Each is formulated for a completely different environment and purpose.
| Feature | Marine Primer | Household Primer |
|---|---|---|
| Environment | Designed for constant water immersion, high humidity, saltwater spray, and intense UV exposure. | Designed for stable indoor temperatures, low humidity, and no direct water contact. |
| Formulation | Contains specialized resins (like epoxy or polyurethane) and additives for extreme water resistance, corrosion prevention, flexibility, and abrasion resistance 57. | Typically acrylic or oil-based, focused on covering stains and providing a uniform surface for latex or enamel paint. |
| Adhesion | Engineered for superior bonding to non-porous and difficult substrates like gelcoat, aluminum, and steel 1. | Formulated for adhesion to porous surfaces like drywall, wood, and masonry. It will not bond properly to marine substrates. |
| Protection | Provides a robust barrier against corrosion, osmosis, and marine growth. | Offers minimal to no protection against moisture, let alone saltwater immersion. |
The Bottom Line: Using a household primer on your boat is a guaranteed recipe for disaster. The paint will quickly bubble, peel, and flake off, leaving the underlying surface exposed and unprotected. Always invest in a proper marine paint primer; it is the only way to ensure the integrity and longevity of your finish.
What Are the Different Types of Marine Primers Available?
Walking into a marine supply store, you’re faced with a wall of options: epoxy, alkyd, polyurethane, etch primers. The terminology can be confusing, and the fear of choosing the wrong product for your specific need is real. Will an alkyd primer hold up below the waterline? Do you really need an etch primer for that bare aluminum? Making the wrong choice can compromise your entire paint job, wasting time, money, and effort. The solution is to understand what each type of marine primer is designed to do, empowering you to select the perfect product with confidence.
Choosing the right boat primer starts with understanding the main types and their specific strengths. While there are many specialty primers, most fall into one of these categories. As a technical consultant at JDmarine, I work with these formulations every day to help boat owners achieve professional results.
1. Epoxy Primers (Two-Part Systems)
Often called 2K or two-part primers, epoxies are the undisputed workhorses of marine priming. They consist of a resin base (Part A) and a hardener or converter (Part B) that, when mixed, initiate a chemical reaction to create an incredibly tough, durable, and chemical-resistant film 5.
- Best For: Below-the-waterline applications, providing the ultimate waterproof barrier against osmosis on fiberglass. They are also the top choice for corrosion protection on properly prepared steel and aluminum hulls 12.
- Key Features: Superior adhesion, durability, and water/chemical resistance.
- JDmarine Recommends: For general-purpose protection on steel, our JDH815 Iron Oxide Red Epoxy Primer is a proven performer 59. For superior anti-corrosive protection on steel in harsh environments, we recommend a zinc-based system like the JDH819 Epoxy Zinc Phosphate Primer 424.
2. Alkyd Primers (One-Part Systems)
These are more traditional, oil-based, single-part (1K) primers. They are known for their ease of use, excellent flow and leveling, and good flexibility, making them a great choice for certain applications.
- Best For: Above-the-waterline use on wood and previously painted surfaces where flexibility is key 6. They are also a cost-effective option for general-purpose priming on topside steel structures.
- Key Features: Easy, single-part application, affordable, flexible.
- JDmarine Recommends: Our JDC53-31 Red Lead Alkyd Anti-Rust Paint is a classic, high-performance anti-rust primer for steel superstructures and fittings 916.
3. Polyurethane Primers
Often part of a high-end topside finishing system, polyurethane primers are known for their extreme hardness, scratch resistance, and excellent UV stability. They sand to a very fine, smooth finish.
- Best For: Use above the waterline as the perfect foundation for two-part polyurethane topcoats like our JD918 Acrylic Polyurethane Hull Paint (Yellowing resistance ) 2028. They provide the ideal base for achieving a "yacht-quality" gloss finish.
- Key Features: High-build, easy to sand, excellent UV resistance, provides a super smooth finish 7.
4. Specialty Primers
- Etch Primers: These are used exclusively on bare metals, particularly aluminum. They contain an acid component that chemically etches the metal surface, creating a microscopic profile that a subsequent primer can grip onto for maximum adhesion 1.
- High-Build Primers: A high-build primer, like our JDH818 Rough Surface Epoxy Primer, is designed to apply a thick layer in a single coat 917. This fills minor imperfections and builds the total film thickness quickly, reducing labor and providing a smoother surface for the topcoat 3.
- Tie-Coat Primers: These are problem-solvers. A tie-coat primer is used to link two otherwise incompatible paint types, for example, applying a new antifouling paint over an old, unknown coating. Our JDH263 Epoxy Tie Coat is formulated to bond securely to a properly prepared old surface while providing a perfect base for the new layer 42224.
How Do I Choose the Right Marine Primer for My Boat’s Material?
Knowing the types of primers is half the battle; now you have to match one to your boat’s specific material, or substrate. Applying an otherwise excellent primer to the wrong surface can lead to a total lack of adhesion, causing the paint to lift right off. A primer that’s perfect for fiberglass won’t stick to bare aluminum, and a primer for steel won’t have the flexibility needed for wood. To avoid this frustrating outcome, you need a clear, reliable guide that tells you exactly which marine primer system is right for your hull.
Choosing the correct marine paint primer is entirely dependent on the substrate you’re painting and its location on the boat (above or below the waterline). Here is my substrate-by-substrate guide based on years of technical consulting. For a deeper dive into your boat’s specific construction, consult an educational resource on understanding boat hull construction.
| Substrate | Below Waterline Recommendation | Above Waterline Recommendation | Key Preparation Steps |
|---|---|---|---|
| Fiberglass / Gelcoat | A two-part epoxy barrier coat (e.g., JDH816 Grey Epoxy Primer) is essential for osmosis prevention 45. | A single-part alkyd primer or a two-part epoxy/polyurethane primer can be used. | Must completely remove mold-release wax on new boats. Thoroughly clean, de-wax, and sand with 80-grit paper 18. |
| Aluminum | A complete system is non-negotiable. Start with an etch primer, then apply a high-build epoxy barrier coat like our JDH835 Aluminum Iron Epoxy Anti-Rust Paint for corrosion protection 24. | Follow the same system as below the waterline for maximum longevity. | Surface must be completely clean, degreased, and then etched or sweep-blasted to create a profile for adhesion 1. |
| Steel | A high-performance anti-corrosive epoxy primer is critical. A zinc-rich primer like JDH06-4 Epoxy Zinc-Rich Anti-Rust Primer provides the best protection 9. | Use an anti-corrosive epoxy or a more user-friendly alkyd rust primer like JDC53-36 Iron Red Alkyd Anti-Rust Paint 916. | Surface must be sandblasted to a Sa2.5 "near white metal" finish for best results. Bare steel must be primed immediately 11523. |
| Wood | A flexible epoxy primer that will seal the wood from water absorption while moving with the substrate. | A traditional flexible alkyd primer is an excellent choice that can expand and contract with the wood. | Sand along the grain (80-120 grit) 8. Ensure wood is completely dry. Seal any exposed end-grain. |
| Previously Painted | Varies greatly. If the old paint is unknown or incompatible, it must be removed or sealed with a tie-coat primer like JDH263 Epoxy Tie Coat 42224. | Same as below waterline. Compatibility is key. | Old paint must be in sound condition. Remove all flaking paint, feather edges, clean thoroughly, and sand to remove gloss. |
A Note on Old Paint: If you are sanding or removing old paint from a vessel built before 1978, be aware it may contain lead. Always follow safety guidelines from the EPA on lead paint removal.
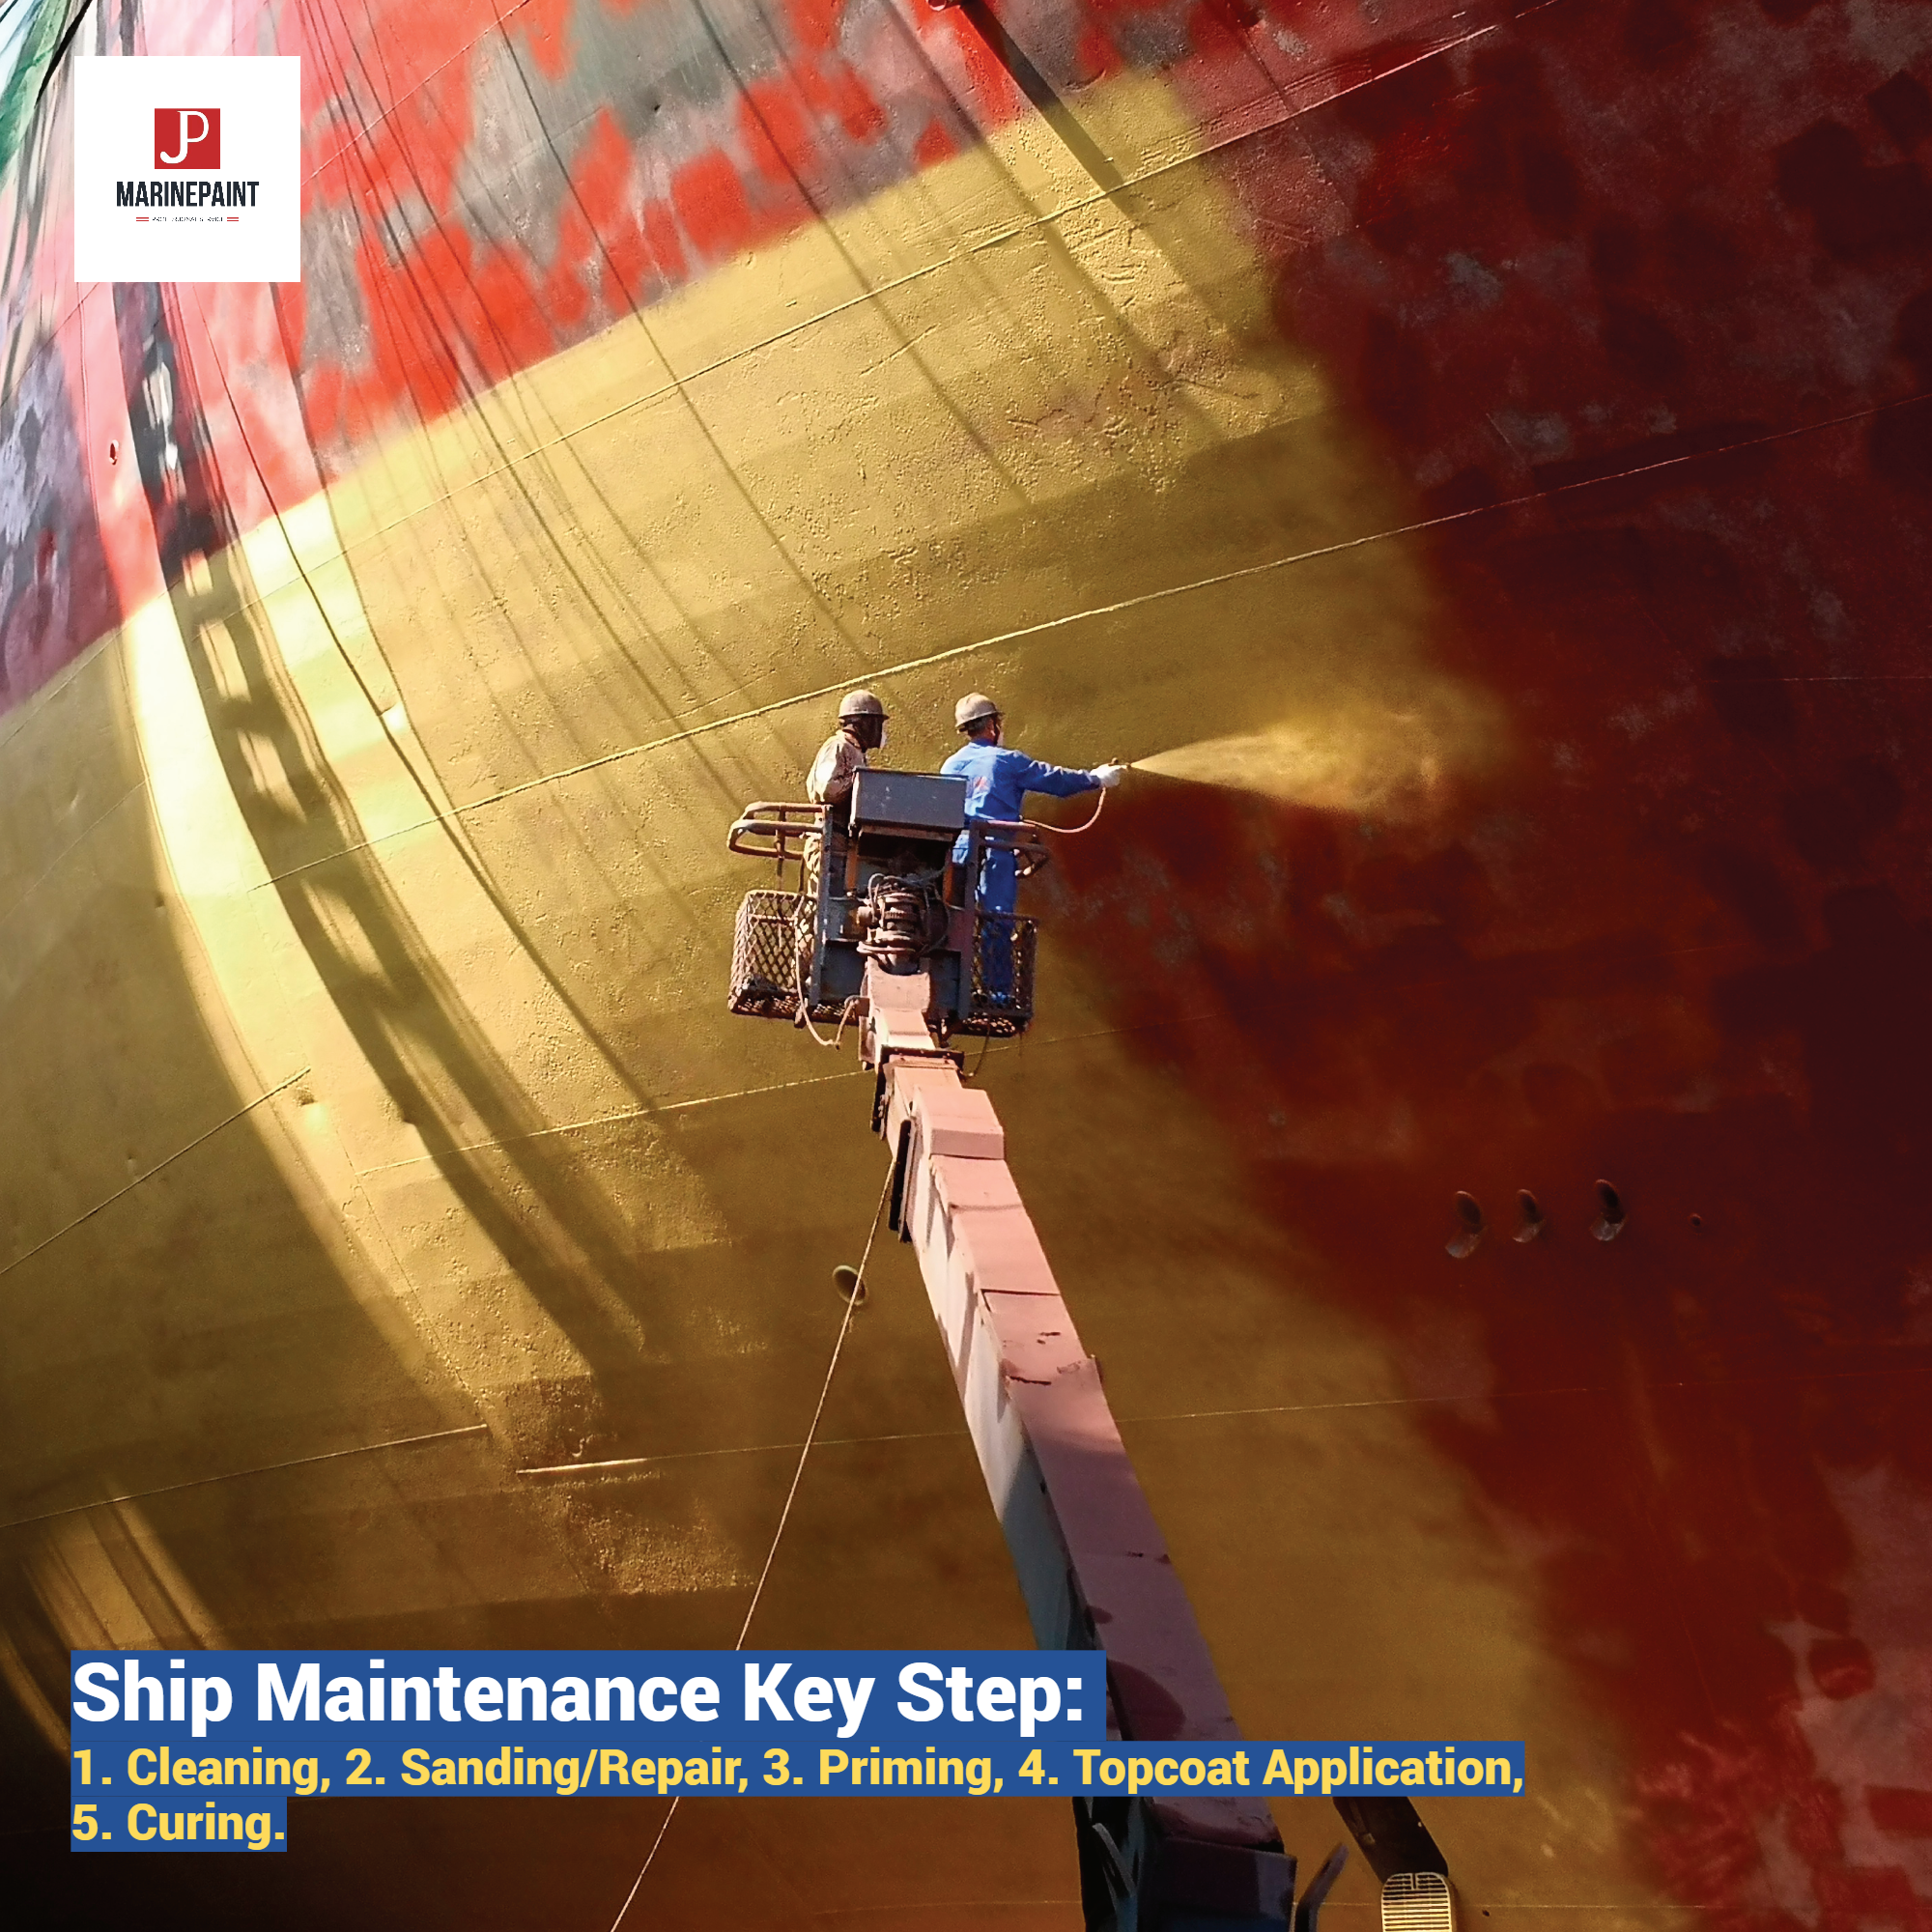
What is the Correct Step-by-Step Process for Applying Marine Primer?
You’ve done the research, selected the perfect marine primer, and are ready to begin. But the best primer in the world will fail if not applied correctly. You’re worried about getting the surface prep just right, mixing the two-part epoxy accurately, and applying the coats within the right time window. A mistake at this stage can undermine all your hard work. What you need is a simple, clear, step-by-step process to follow, ensuring your application is as professional as your product choice.
I cannot overstate this: surface preparation is 90% of the job. A pristine, well-prepared surface is the key to primer adhesion and a long-lasting finish. Always wear appropriate personal protective equipment (PPE) when handling marine coatings 11.
- Surface Preparation is Key: This is the most critical step 1523. The surface must be completely clean, dry, and free of all contaminants. This involves washing with a degreasing solvent to remove wax, oil, and grime, removing all old, flaking paint, and rinsing thoroughly with fresh water to remove salts 8.
- Sanding for Adhesion: Once clean, you must sand the entire surface to create a "mechanical profile"—a pattern of fine scratches that the primer can physically grip onto. Use 80-100 grit sandpaper for most substrates 8. Vacuum or wipe away all sanding dust.
- Mixing (Especially for 2-Part Epoxies): For two-part primers, you must follow the manufacturer’s specified mix ratio exactly 3. Combine the two parts and mix thoroughly with a mechanical stirrer for several minutes. Pay attention to the "induction time" or "sweat-in time"—a period where the mixed paint must sit before application to allow the chemical reaction to begin 3.
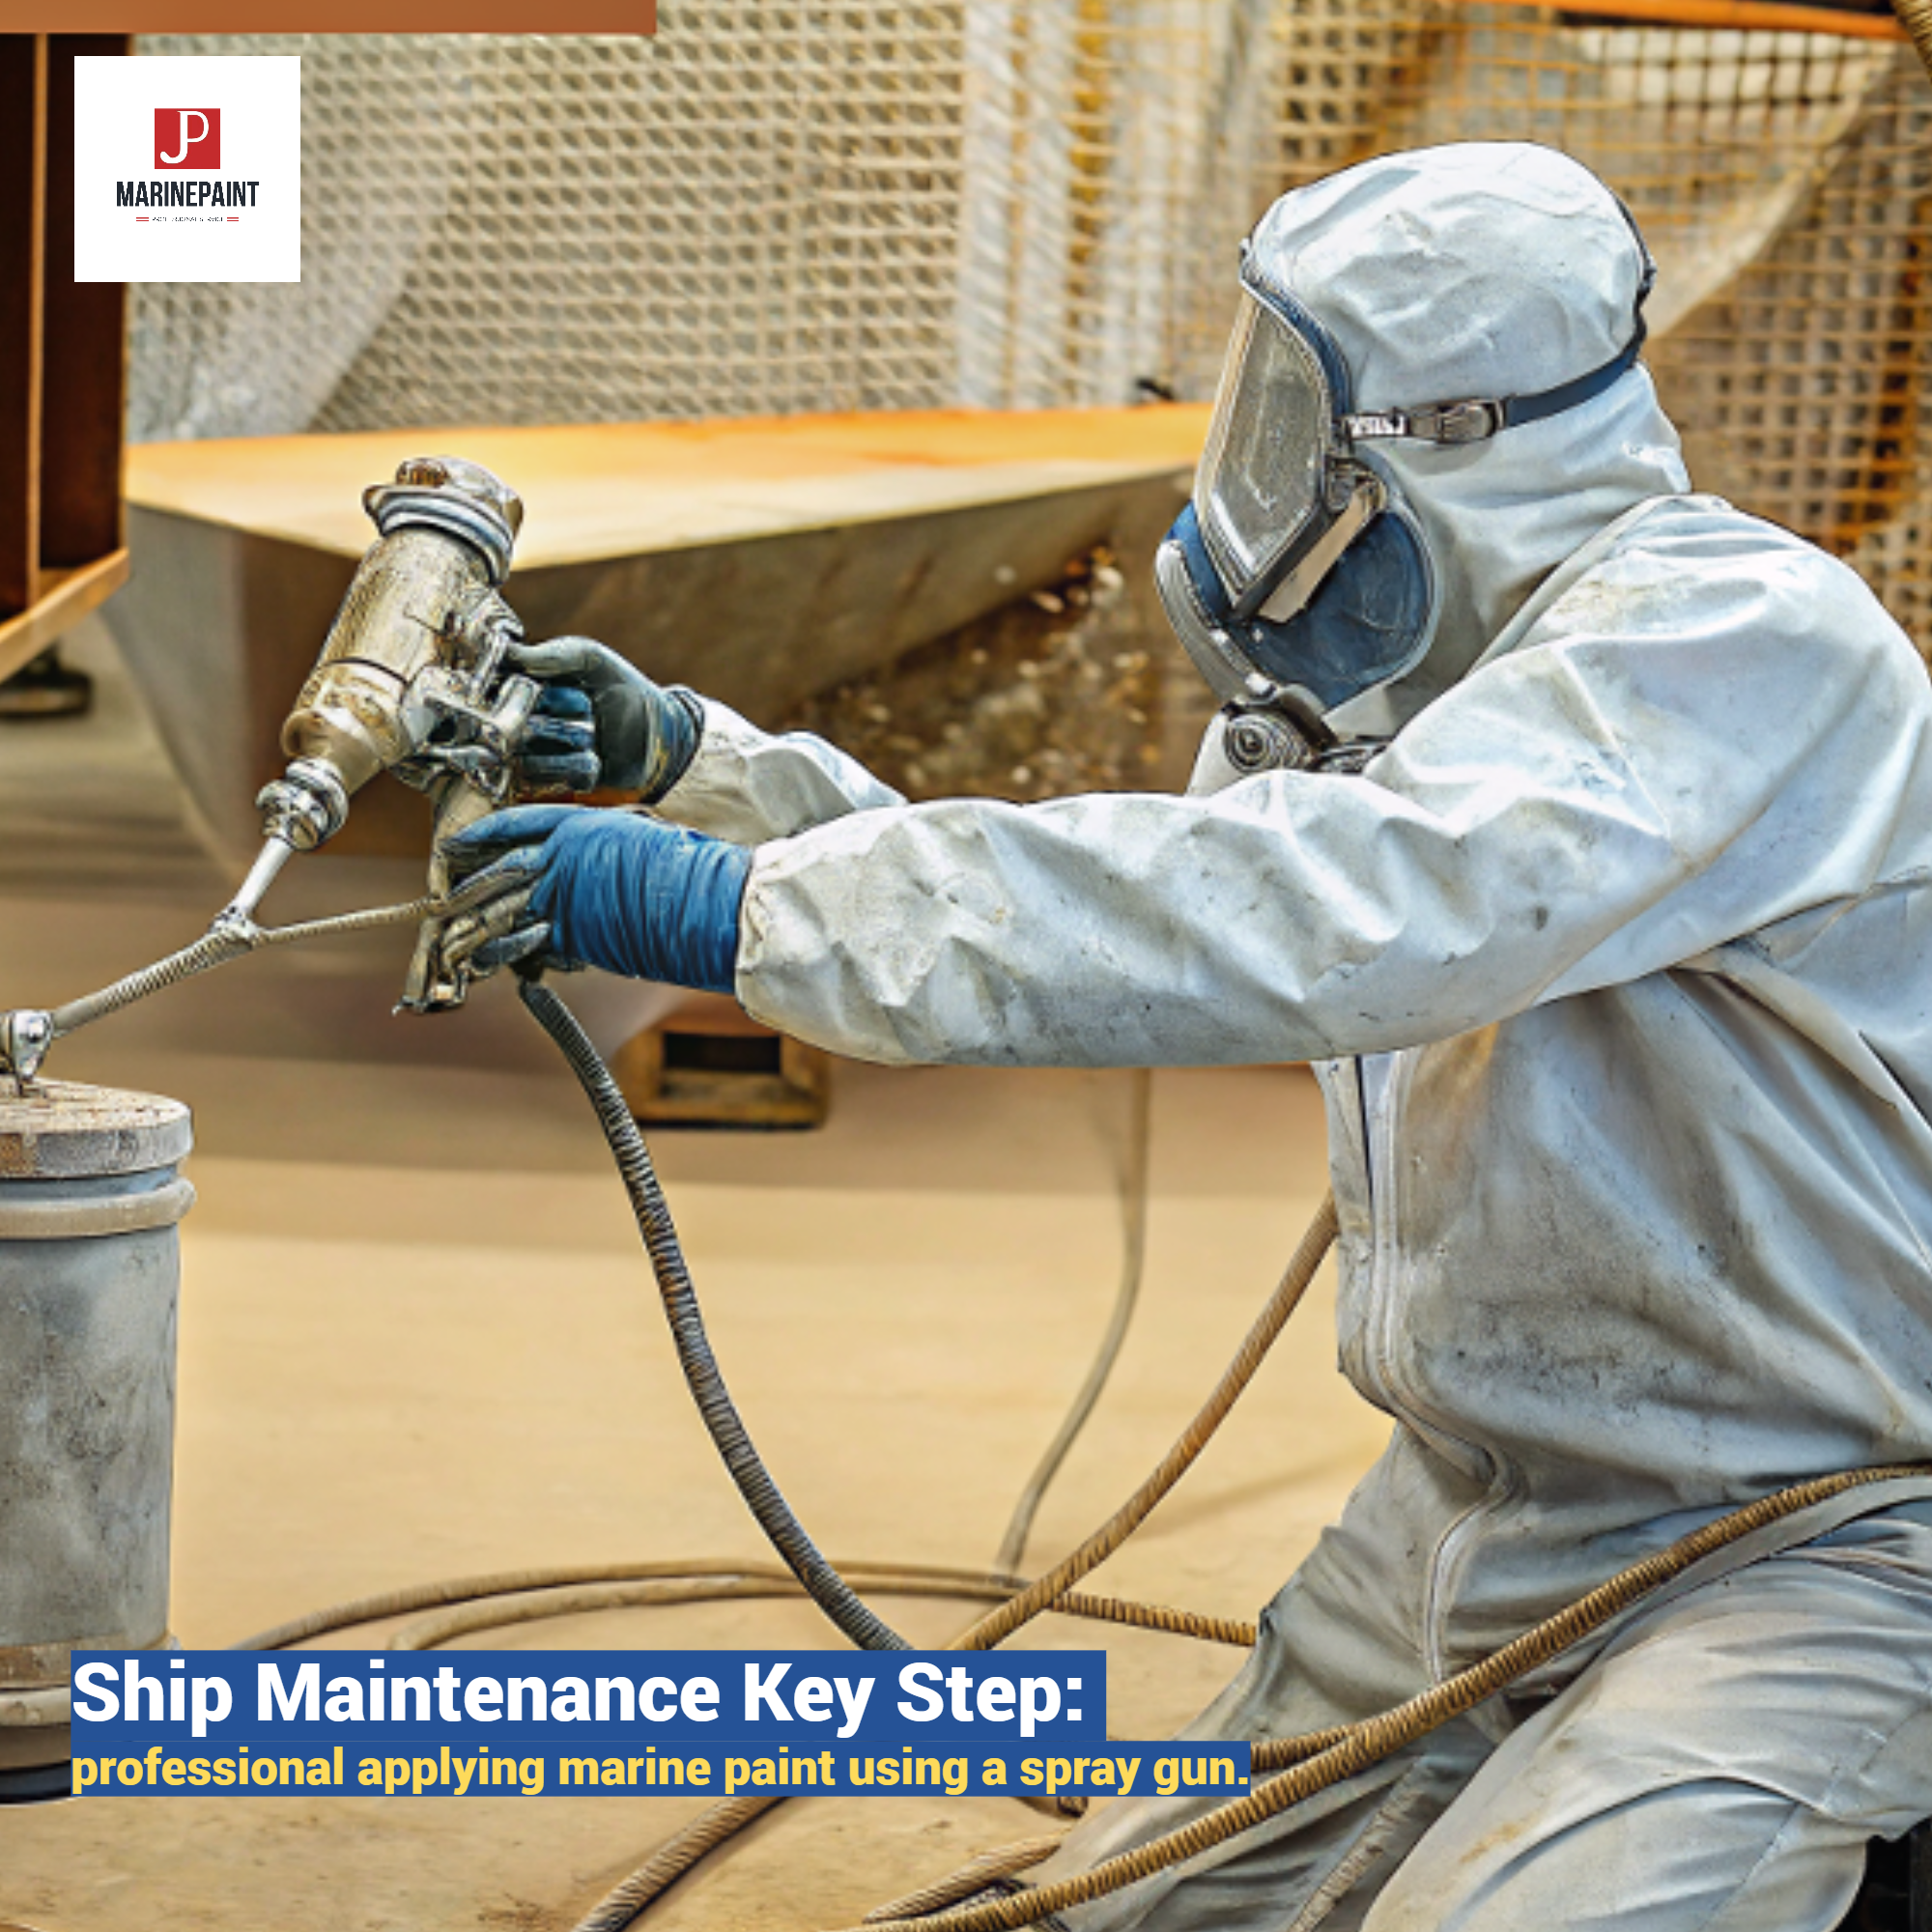
- Application: You can apply primer by brush, roller, or spray 26. While brushing is good for small areas and "cutting in," spraying (especially HVLP) provides the most even and efficient application for large areas. Avoid rolling the first coat of primer onto a rough surface, as it can trap air and lead to pinhole rusting 23.
- Applying Multiple Coats: Don’t skimp on coats. Follow the product’s data sheet for the recommended number of coats needed to achieve the required dry film thickness (DFT) for proper protection. For example, a full osmosis barrier system may require 5-6 coats of epoxy primer 3.
- Observing Overcoating Windows: The "overcoating window" is the time you have to apply the next coat of primer or topcoat without needing to sand again 1225. Applying within this window creates a powerful chemical bond between the layers, which is much stronger than a purely mechanical one.
What Common Marine Primer Mistakes Should I Avoid?
To ensure success, be mindful of these common pitfalls. Avoiding them will save you from having to do the job all over again.
- Inadequate Surface Prep: The #1 cause of paint failure. Any remaining grease, wax, salt, or moisture will prevent the primer from adhering.
- Using the Wrong Primer: Choosing a primer that is not compatible with the substrate or the topcoat will lead to delamination.
- Incorrectly Mixing Two-Part Systems: Using the wrong ratio or insufficient mixing will result in a coating that never cures properly.
- Applying in Poor Conditions: Applying primer when it’s too hot, cold, or humid can ruin the finish 3. The surface temperature must be at least 3°C (5°F) above the dew point to prevent condensation 3.
- Ignoring Recoat Times: Waiting too long between coats means you miss the chemical bonding window, forcing you to sand the entire surface again.
FAQs: What are the Answers to Your Marine Primer Questions?
What does marine primer do?
A marine primer does three main things: it creates a strong adhesive bond for the topcoat, it provides vital corrosion protection for metals, and it acts as a waterproof barrier to protect the hull from water absorption and osmosis.
Do I need to prime a new boat’s gelcoat before painting?
Yes, absolutely. New fiberglass boats have a mold-release wax on the gelcoat that must be completely removed 1. After that, applying an epoxy boat primer, especially below the waterline, is essential to create a barrier that prevents future osmosis.
How many coats of marine primer should I use?
This depends on the primer and your goal. For general priming above the waterline, 2-3 coats is typical. For creating a full epoxy osmosis barrier below the waterline, you will need to apply 5-6 coats to achieve the manufacturer’s recommended total dry film thickness 3.
Can you put marine primer over old paint?
Yes, provided the old paint is in excellent, sound condition and is compatible with the new primer. The entire surface must be cleaned and thoroughly sanded to remove all gloss and create a surface profile. If compatibility is unknown, using a tie-coat primer is the safest bet.
How long does marine primer take to dry?
Drying time varies significantly between products (alkyds vs. epoxies) and is heavily dependent on temperature and humidity 25. A two-part epoxy might be touch-dry in a few hours but require 24 hours before recoating 5. Always refer to the product’s technical data sheet for specific times.
Conclusion
A high-quality marine primer, chosen correctly for your boat and applied with care, is the absolute foundation of a durable, beautiful finish. Tackle your project with confidence!
![]()