How to Apply UV-Resistant Marine Paint Like a Pro
A perfect, glossy boat finish doesn’t happen by accident. It’s the result of meticulous preparation and professional application techniques that ensure beauty and protection are locked in for the long haul.
This article is your detailed, step-by-step guide to achieving that flawless finish. We will walk through the entire process, from the fundamental importance of surface preparation to the final-coat techniques used by professionals. By following these manufacturer-recommended best practices, any hands-on boat owner can apply a UV-resistant marine paint that not only looks stunning but also provides maximum durability against the harsh marine environment [4]. Get ready for actionable tips that will make your next paint job your best one yet.
![[Image Placeholder]> **Prompt:** A well-organized, clean shot of boat painting supplies laid out on a clean drop cloth in a dry dock. Includes masking tape, various grits of sandpaper, tack cloths, a high-quality paint roller, a badger-hair tipping brush, and a professional HVLP spray gun. The background shows a perfectly masked and prepped boat hull, ready for primer.](https://jdmarinepaint.com/wp-content/uploads/2025/08/how-do-you-solve-the-most-common-marine-primer-pro-2.png "[Image Placeholder]> **Prompt:** A well-organized, clean shot of boat painting supplies laid out on a clean drop cloth in a dry dock. Includes masking tape, various grits of sandpaper, tack cloths, a high-quality paint roller, a badger-hair tipping brush, and a professional HVLP spray gun. The background shows a perfectly masked and prepped boat hull, ready for primer.")
Phase 1: The Critical Surface Preparation for Your UV-Resistant Paint
The most advanced paint in the world will fail if applied to a poorly prepared surface. Surface preparation is the most important factor, besides the paint’s quality, in determining the durability of the final coating [20]. It is the foundation upon which your entire protective system is built. A smooth, glossy, and long-lasting finish begins with a surface that is immaculately clean, dry, and properly profiled to ensure maximum adhesion [1][26]. Skipping steps here is the quickest way to guarantee a premature paint failure [26].
Cleaning and Degreasing: The First and Most Essential Step
Before any sanding or grinding begins, the surface must be completely free of contaminants. Even a thin, invisible layer of oil, grease, or wax will prevent the paint from adhering correctly [26]. The proper cleaning sequence is to first remove loose dirt, then degrease, and finally perform mechanical abrasion. Start by washing the entire vessel with appropriate detergents and high-pressure fresh water to remove salt deposits, dirt, and other surface grime [1]. Salt residue is particularly damaging as it can draw moisture through the paint film and cause blistering, so pay special attention to cracks and crevices where it can accumulate [1].
Mechanical Abrasion: Creating the Perfect Anchor Profile
Paint needs a textured surface to grab onto; a perfectly smooth, glossy surface is the enemy of good adhesion [20]. The goal of mechanical abrasion is to create a "profile" or "key"—a series of microscopic peaks and valleys for the primer to lock into [20]. The method depends on the substrate:
- For Steel: The gold standard for removing all rust, scale, and old coatings is abrasive sandblasting to an Sa 2.5 standard as defined by SSPC surface preparation standards [12][13][20][25]. This leaves a uniformly rough, clean metal surface. For smaller repairs or steel without heavy oxidation, power tool cleaning (such as grinding with a flexible disc) to an St3 standard, which creates a bright metallic sheen, is an effective alternative [5][12][13][15].
- For Wood: Sanding should always be done along the grain [1]. Start with a medium grit (e.g., 80-120) to remove old finishes and level the surface, then progress to a finer grit (e.g., 180-220) to create a smooth but keyed surface ready for priming [1].
- For Existing Paint: If the old paint is in good condition, you don’t need to strip it completely. Instead, thoroughly sand the entire surface to remove the gloss and create a dull, frosted appearance [1]. This provides the necessary key for the new paint to adhere tenaciously.
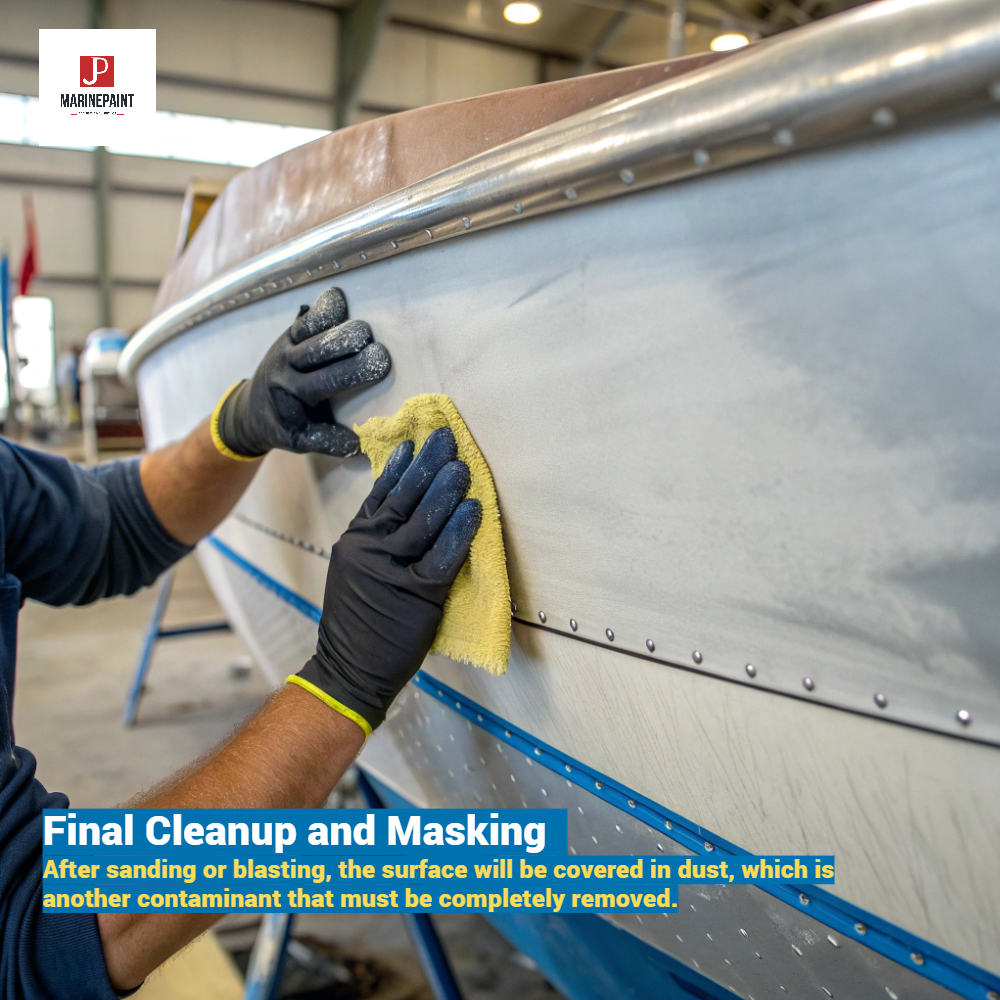
Final Cleanup and Masking
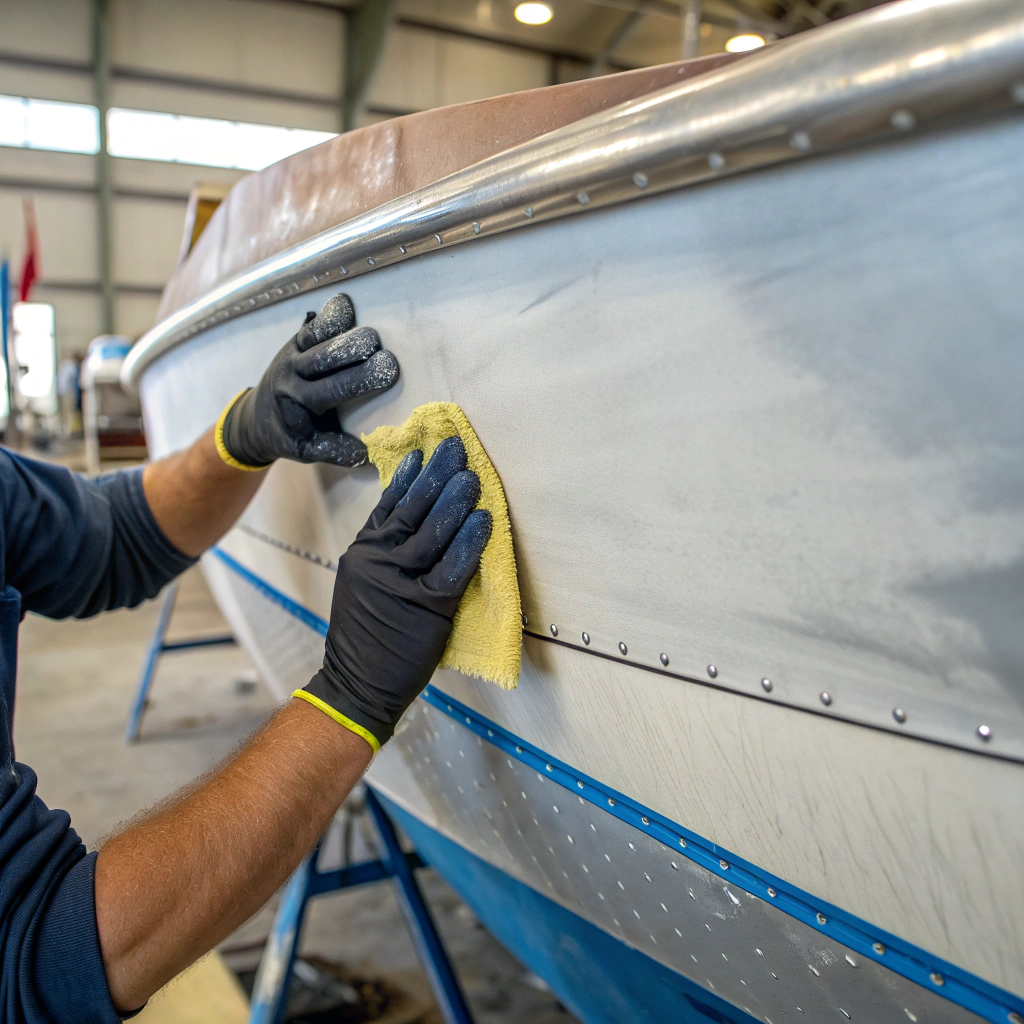
After sanding or blasting, the surface will be covered in dust, which is another contaminant that must be completely removed. Use a vacuum cleaner to remove the bulk of the dust, followed by a final wipe-down with a solvent-appropriate tack cloth to pick up any remaining particles [9][26]. Once the surface is perfectly clean, carefully mask all fittings, windows, and any other areas you don’t want painted. Use high-quality painter’s tape to ensure sharp, clean lines.
Phase 2: Applying the Primer and UV-Resistant Topcoat System
With preparation complete, you’re ready to build your protective coating system. This phase is about precision and control. From checking the weather to mixing your paint correctly and applying it with the right technique, every step is crucial for achieving a glass-smooth, professional-grade finish that will stand the test of time. For everyone’s protection, it’s always wise to follow professional guidance on safe paint application [17].
Environmental Checks: Don’t Let the Weather Ruin Your Work
Never start painting without checking the forecast and current conditions. Most marine paints are designed to cure correctly only within a specific temperature and humidity range [19]. Crucially, the surface temperature of the hull must be at least 3°C above the dew point [19][23]. This prevents condensation—invisible moisture—from forming on the surface, which will ruin adhesion and can cause blistering. Avoid painting in direct, hot sunlight, which can make the paint dry too fast, or late in the day when falling temperatures can cause dew to form on your fresh paint. Never paint in the rain or in very high humidity [19].
Mixing and Thinning Your UV-Resistant Marine Paint
Proper mixing is non-negotiable, especially for two-part products like epoxies and polyurethanes.
- Mixing: These paints consist of a base (Part A) and a hardener (Part B) that must be mixed in precise ratios, as specified on the data sheet [18][21]. For some two-part epoxies, an "induction time" or "sweat-in" time is required; this means letting the mixed components stand for 15-30 minutes before application to allow the chemical reaction to begin, which can help prevent surface blemishes.
- Thinning: Only thin the paint if absolutely necessary and strictly according to the manufacturer’s data sheet [4]. Use only the specified thinner for your paint system, such as our X-7 Thinner for epoxy primers or our Universal Thinner X-2 for polyurethane topcoats [18][21]. Using the wrong thinner can ruin the paint.
Application Techniques for a Flawless UV-Resistant Finish
- Spraying: For the smoothest, most professional finish, high-pressure airless spray is the recommended method [15][16][21]. It allows you to apply a uniform, even coat and achieve the correct film thickness efficiently. When spraying, keep the gun at a consistent distance from the surface and overlap each pass by 50% to ensure even coverage.
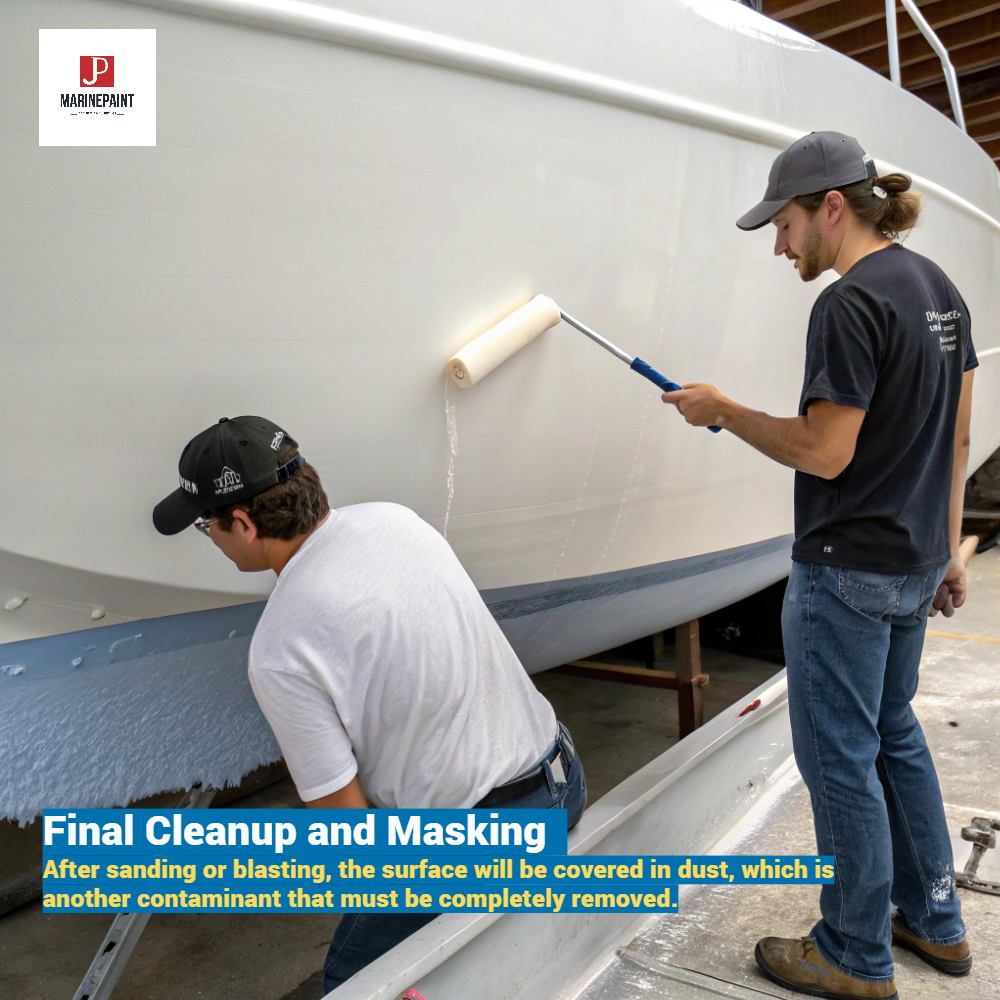
- Rolling and Tipping: This classic two-person technique is excellent for DIY applications. One person uses a high-quality foam roller to apply the paint evenly [15]. The second person follows immediately behind, using a clean, dry, high-quality brush (like a badger-hair brush) to lightly drag across the wet paint. This "tipping" action smooths out any bubbles or roller texture ("stipple"), leaving a remarkably smooth, spray-like finish.
- Film Thickness: Achieving the correct paint thickness is vital for durability. Use a wet film thickness (WFT) gauge during application to ensure you are applying enough paint to achieve the dry film thickness (DFT) specified on the product’s technical data sheet [4][18]. A consistent, correct DFT is key to the coating’s protective performance.
Phase 3: Curing and Recoating Your UV-Resistant Paint
You’ve applied the paint, but the job isn’t done. The paint must now go through its chemical curing process to develop its final properties of hardness and durability. This phase requires patience and an understanding of drying times and recoat windows. Rushing the process can compromise the entire finish.
A coating goes through several stages of drying: "touch dry" , "hard dry" , and "full cure" (fully achieving its chemical and physical resistance) [2][12][21]. These times vary greatly depending on the paint type, temperature, and humidity [23].
The most critical factor in this phase is the recoat window [2][18][21]. The technical data sheet will specify a minimum and maximum time you can wait before applying the next coat.
- Applying the next coat too soon (before the minimum time) can trap solvents, leading to a soft film that never properly hardens and may bubble or wrinkle.
- Applying the next coat too late (after the maximum time) means the previous coat will have cured too much for a proper chemical bond to form. In this case, you must sand the surface again to create a mechanical key for the next coat to adhere to [29]. Adhering to the recoat window is essential for strong intercoat adhesion and the integrity of the entire paint system.
Frequently Asked Questions (FAQs) on Application
How many coats of UV-resistant paint do I need?
This depends on the paint system. Typically, a full system includes one or two coats of a high-build epoxy primer, like our JDH819 Epoxy Zinc Phosphate Primer, followed by two or three coats of a high-performance UV-resistant marine paint topcoat, such as our JD918 Acrylic Polyurethane Hull Paint (Yellowing resistance) [6][21][27][28]. Always consult the technical data sheet for the recommended number of coats (建议涂装道数) and film thickness [28].
Why is my new paint bubbling?
Bubbles can be caused by several factors. The most common is "solvent popping," which happens when a topcoat is applied too heavily or when it’s recoated before the underlying layer has sufficiently dried, trapping solvents [29]. It can also be caused by painting on a contaminated or damp surface (e.g., from dew) [19] or, with epoxies, failing to allow for the proper induction ("sweat-in") time after mixing.
What do I do if I missed the recoat window?
If you have exceeded the maximum recoat time, you must prepare the surface before applying the next coat [29]. You will need to thoroughly sand the entire surface with a fine-grit sandpaper to de-gloss the finish and create a mechanical profile. After sanding, wipe the surface clean with a tack cloth to remove all dust, and then you can proceed with applying the next coat [29].
Can I paint over antifouling paint?
No, you should never apply a cosmetic topcoat like a polyurethane over an antifouling paint. Antifouling paints are designed to be the final, outermost layer below the waterline and work by slowly wearing away or releasing biocides [27]. Applying a hard topcoat over them would render them ineffective and would likely fail due to poor adhesion. Antifouling paint can only be recoated with itself or another compatible antifouling paint after proper preparation [24].
Conclusion
A professional-quality, durable finish is achievable with careful attention to preparation, conditions, and technique. By respecting the process and following manufacturer instructions for your UV-resistant marine paint, you can create a successful, long-lasting project.
![]()