Advanced Marine Primer Applications & Troubleshooting Guide
You already know that primer is the foundation of a great marine paint job. But moving from a good finish to a truly professional, flawless one requires mastering the science behind the can.
This guide is for the experienced boater and marine professional. We will explore advanced epoxy primer systems, the technical application details for challenging jobs like osmosis repair, and a pro-level troubleshooting guide. It’s time to move beyond the basics and master the process of creating a perfect, long-lasting marine-grade finish.
Let’s begin by diving deeper into the workhorse of the marine industry: two-part epoxy primer systems.
How Can You Master Two-Part Epoxy Primer Systems?
You know that epoxies are tough, but do you understand the chemistry that makes them the gold standard for underwater protection? You’re facing a major osmosis repair job and need to be certain your barrier coat will be impenetrable. Moving from simply using an epoxy primer to truly mastering it means understanding how it cures, its specific handling characteristics, and how to deploy it for the most demanding jobs, such as complete osmosis repair. This knowledge is the difference between a temporary fix and a permanent solution.
A two-part epoxy primer’s strength comes from a chemical reaction, not from simple drying. When the base resin (Part A) is mixed with the hardener or converter (Part B), they begin to cross-link on a molecular level, forming an incredibly dense, tough, and non-porous film. To control this reaction, you must understand these critical terms:
- Induction Time: Also known as "sweat-in" time, this is a period after mixing during which some epoxies must be left to stand before application. This allows the chemical reaction to begin uniformly throughout the batch. For our two-part epoxies, we recommend a 15-30 minute induction time.
- Pot Life: This is the total usable working time you have from the moment you finish mixing until the primer becomes too thick to apply properly. This can range from minutes to hours depending on the product and temperature.
This curing process can sometimes produce a waxy byproduct called "amine blush," especially in cooler, humid conditions. This blush must be washed off with warm, soapy water before sanding or applying the next coat, as it can prevent proper adhesion.
Barrier Coats for Osmosis Prevention and Repair
An epoxy primer’s greatest strength is its ability to form a waterproof barrier coat, which is the only effective way to prevent and repair osmotic blistering on fiberglass hulls. While prevention involves applying a barrier coat to a new or sound hull, repair is more intensive:
- Grind Out: Each blister must be ground out to expose clean, dry laminate.
- Fill: The ground-out areas must be filled with a high-strength epoxy fairing compound and sanded smooth.
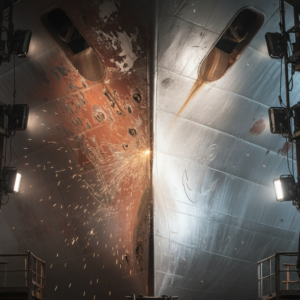
- Barrier Coat Application: Apply 5-6 coats of a high-solids epoxy primer like our JDH816 Grey Epoxy Primer to build the required film thickness for a completely waterproof shield. The total thickness should be at least 225 microns.
![[Image Placeholder]**Prompt:** A split image. The left side shows a technician grinding out an osmosis blister on a fiberglass hull. The right side shows the same hull section after repair, with a thick, smooth, grey epoxy barrier coat applied.](https://jdmarinepaint.com/wp-content/uploads/2025/08/a-split-image-the-left-side-shows-a-technician-gr-2.png "[Image Placeholder]**Prompt:** A split image. The left side shows a technician grinding out an osmosis blister on a fiberglass hull. The right side shows the same hull section after repair, with a thick, smooth, grey epoxy barrier coat applied.")
What are Specialized Primers for Demanding Applications?
While epoxy primers are versatile, certain situations demand a specialized solution. Using a standard primer on bare steel in a harsh saltwater environment is a recipe for premature failure. Likewise, painting over an old, unknown coating without the right preparation can cause the new paint to peel right off. These difficult scenarios require advanced, purpose-built marine primers. Knowing when and how to deploy these problem-solvers is a hallmark of a true marine coatings professional.
For the most challenging substrates and applications, a specialized marine undercoat is not just an option—it’s a necessity. At JDmarine, we engineer primers to solve specific, difficult problems that standard products can’t handle.
Zinc-Rich Primers: Sacrificial Protection for Steel
For the ultimate corrosion protection on steel, nothing beats a zinc-rich primer. These primers work through galvanic protection. Zinc is a more reactive metal than steel, so when both are exposed to an electrolyte (like saltwater), the zinc particles in the primer will corrode first, "sacrificing" themselves to protect the steel hull. This is why proper surface preparation, typically abrasive blasting to a near-white metal standard (Sa2.5), is absolutely essential for the zinc to have direct contact with the steel. Our JDH06-4 Epoxy Zinc-Rich Anti-Rust Primer is designed precisely for this demanding sacrificial role.
Tie-Coat Primers: The Ultimate Problem-Solver
A tie-coat primer is a bridge. Its job is to physically and chemically bond two different and otherwise incompatible paint layers. A classic example is when you need to apply a new antifouling paint over an old, unknown layer. A tie-coat primer like our JDH263 Epoxy Tie Coat is formulated to adhere tenaciously to the properly sanded old surface while providing a perfect, receptive base that the new antifouling paint can lock onto, preventing peeling and delamination.
Fairing Primers / High-Build Surfacers
While many primers are "high-build," a true fairing primer or sprayable surfacer takes this to the next level. These are extremely thick epoxy primers designed to fill minor surface imperfections, sand ripples, and print-through on fiberglass hulls. Products like our JDH818 Rough Surface Epoxy Primer are applied, guide-coated, and then block-sanded to achieve a perfectly "fair" and smooth surface, which is the secret to a flawless, mirror-like topcoat finish.
Mastering advanced priming means understanding the science and specific purpose behind each system. Now, let’s turn to the hands-on techniques required to apply them perfectly.
What Does Professional-Grade Surface Preparation Truly Involve?
You know that surface prep is critical, but a professional standard goes far beyond a quick sanding. Simply wiping a surface with a solvent-soaked rag can just spread contamination around. Not achieving the correct surface profile during blasting means your zinc primer won’t work. These subtle but critical details in preparation are what separate an amateur finish from a professional one that will last for years.
Meticulous surface preparation is the most important factor in the longevity of a paint system. For a professional result, you must go beyond the basics.
Mechanical vs. Chemical Etching
- Mechanical Profile (Abrasive Blasting): For steel, the gold standard is abrasive blasting. This process uses high-pressure air to propel an abrasive media (like garnet or steel grit) at the surface, removing all rust and contamination and creating a uniform texture called a surface profile. Achieving the correct standard, such as SSPC-SP 10 / NACE No. 2 / Sa2.5 ("Near-White Metal Blast Cleaning"), is critical for the performance of advanced anti-corrosive primers.
- Chemical Profile (Etching): For new aluminum, you must chemically alter the surface. This involves using an acid-based etch wash or conversion coating. These products react with the aluminum to create a stable, chromate-free oxide layer that the primer can firmly adhere to. Without this step, the primer will fail to bond.
De-waxing and Solvent Wiping
Contaminants like oil, grease, and especially mold-release wax on new gelcoat are invisible enemies of adhesion. The "two-rag method" is the only professional way to remove them:
- Wet a clean, lint-free rag with a suitable solvent.
- Wipe a small area of the hull to dissolve the contaminant.
- Immediately wipe the dissolved residue off with a second, clean, dry rag.
This process ensures you are lifting the contaminant off the surface, not just smearing it around.
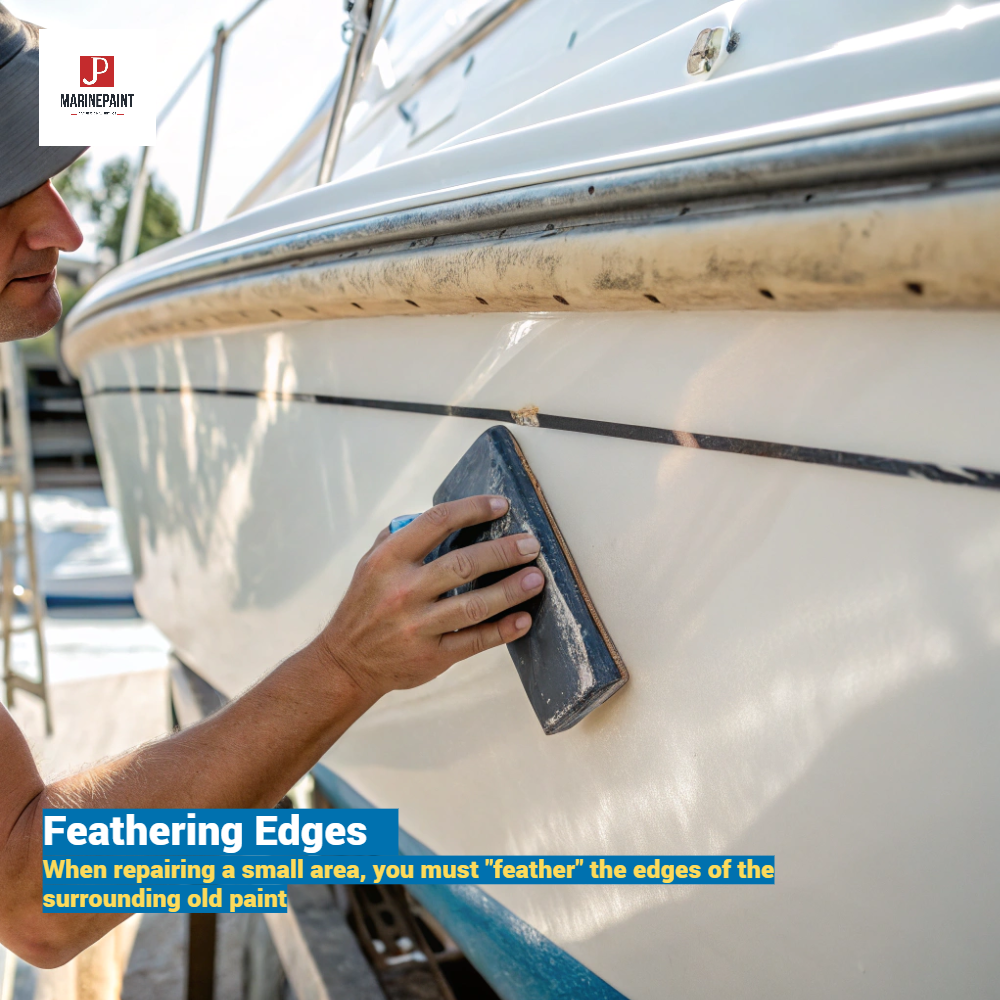
Feathering Edges
When repairing a small area, you must "feather" the edges of the surrounding old paint. This involves using progressively finer grits of sandpaper to create a long, tapered transition from the bare substrate to the level of the existing paint film. This technique ensures that the repair will be invisible under the new topcoat.
What Application Techniques Create a Flawless Finish?
Perfect prep gets you to the starting line, but your application technique gets you to the finish. Poor brushwork can leave unsightly marks, and improper spray technique can result in runs or an uneven film thickness, compromising protection. Mastering professional application methods like the "Roll and Tip" or dialing in a spray gun are the final, critical skills needed to achieve a truly flawless, high-performance finish.
Once the surface is perfect, applying the marine primer correctly is the final step to ensuring a beautiful and durable result.
The "Roll and Tip" Method Masterclass
This technique can produce a near-spray-quality finish with simple hand tools.
- The Roller: One person uses a high-quality, solvent-resistant foam roller to apply an even coat of primer to a manageable area (e.g., 1 meter by 1 meter). Don’t press too hard; let the roller do the work.
- The Tipper: A second person immediately follows with a high-quality, wide brush (badger hair is traditional, but high-quality foam brushes work well). Using very light pressure, drag just the tips of the brush across the wet primer in a single direction. This action pops any air bubbles and eliminates the roller "stipple," leaving a smooth, flat surface.
Spray Application: Guns, Tips, and Pressure
Spraying is the fastest way to get the most uniform finish.
- Gun Choice: HVLP (High Volume, Low Pressure) guns are excellent for topside primers, offering high transfer efficiency and less overspray. Airless sprayers are powerful and ideal for applying thick, high-build epoxy primers quickly.
- Tip Size: The primer’s technical data sheet will specify a range of recommended fluid tip sizes for your spray gun. Using the right tip is crucial for proper atomization and film build.
- Thinning: Primers often need to be thinned (reduced) for spray application. Always use the recommended thinner and never exceed the manufacturer’s specified percentage, as over-thinning will compromise the primer’s protective qualities.
Managing Overcoating Windows
The "overcoating window" is the period during which you can apply the next coat without sanding. This creates a powerful chemical bond. If you miss this window and the primer fully cures, you MUST sand the surface to create a mechanical bond for the next coat to adhere to.
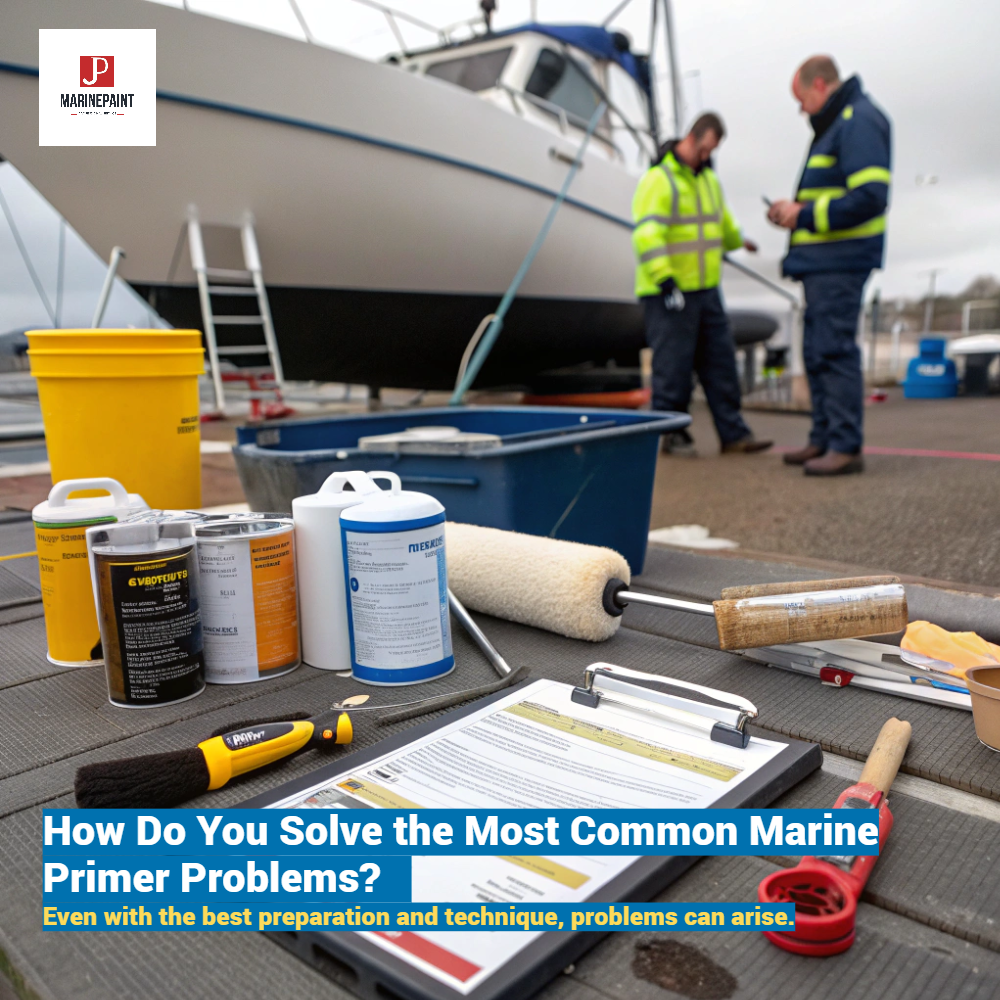
How Do You Solve the Most Common Marine Primer Problems?
Even with the best preparation and technique, problems can arise. An unexpected temperature drop, a contaminated surface, or an incompatible product can lead to frustrating issues. Knowing how to quickly diagnose the cause of common primer failures like peeling, fish eyes, or wrinkling allows you to take the correct corrective action, saving you time and ensuring the final job meets professional standards.
Here is a guide to diagnosing and fixing the most common issues experienced by even seasoned professionals.
| Problem | Likely Cause(s) | Professional Solution |
|---|---|---|
| Primer is Peeling or Flaking | Almost always due to inadequate surface preparation (residual grease, wax, moisture, or dust). It can also be incompatibility with the substrate. | The failed coating must be completely removed. The substrate must then be meticulously cleaned, degreased, sanded, and re-primed with a suitable, compatible primer. |
| "Fish Eyes" or Craters in Wet Film | This is a classic sign of silicone, oil, or wax contamination on the surface. The surface tension of the primer is broken, causing it to pull away from the contaminant. | Stop painting immediately. The best solution is to remove the wet primer, thoroughly decontaminate the entire area with a strong solvent using the two-rag method, sand, and re-apply. |
| Primer is Wrinkling or Lifting | This happens when a primer with strong solvents (a "hot" paint, like a 2-part epoxy or polyurethane) is applied over a single-part primer that is not fully cured or is incompatible. The solvents in the new coat attack and swell the underlying layer. | The affected area must be completely scraped back to a sound surface, the edges feathered, and then re-primed with a compatible system. Often, a tie-coat primer is the safest solution. |
Advanced FAQs: For the Experienced Boater
Can I add fillers to a marine primer to make my own high-build?
This is strongly not recommended. Marine primers are precisely balanced chemical formulas. Adding unauthorized fillers can disrupt the curing process and severely compromise the primer’s adhesion and protective properties, leading to premature failure. Use a dedicated fairing compound or a purpose-built high-build primer instead.
What is a "tie-coat," and how is it different from a regular primer?
A tie-coat is a specialized adhesion primer. While a regular boat primer is designed to bond the primary substrate (fiberglass, steel) to the first paint system, a tie-coat primer is designed to bond two different, incompatible paint layers together. For example, our JDH263 Epoxy Tie Coat is used to create a bridge between a well-sanded but unknown old antifouling paint and a new, different type of antifouling.
My epoxy primer cured with a waxy film. What is it and what do I do?
This is almost certainly "amine blush," a waxy, water-soluble byproduct of the epoxy curing process that is common in cool, damp conditions. It must be removed before sanding or overcoating. The correct procedure is to wash the surface thoroughly with warm soapy water and a scrub pad, followed by a clean water rinse.
Is it necessary to prime a new boat?
Yes, absolutely. A brand-new fiberglass boat is coated with a mold-release wax which must be completely removed before any painting. Furthermore, priming the underwater sections with an epoxy barrier coat is the single best investment you can make in preventing future osmosis problems and ensuring the longevity of your antifouling paint.
Conclusion
Mastering advanced marine primer applications means moving beyond simply painting. It requires understanding the chemistry behind the products and committing to meticulous, professional-grade preparation and technique.
Even with decades of experience, challenges can arise. But with this knowledge, you are equipped to prevent most problems and effectively troubleshoot any that occur, ensuring you achieve marine-grade perfection every time.
![]()