Epoxy vs. Polyurethane Marine Paint: Which is the Ultimate Armor for Your Boat?
Your boat’s finish is failing, leaving it vulnerable to the harsh marine environment. Choosing the right marine paint is your best defense against the elements.
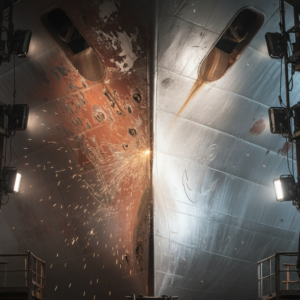
The choice in the epoxy vs. polyurethane marine paint debate isn’t about which is universally "better," but which is correct for a specific job on your vessel. For ultimate underwater protection and as a foundational primer, epoxy marine paint is the undisputed champion due to its incredible adhesion and barrier properties [2, 3]. It creates a hard, waterproof shell that is essential for below-the-waterline applications. However, for topside areas that are constantly battered by the sun, polyurethane marine paint is the star performer. Its superior UV resistance and flexible nature ensure a long-lasting, high-gloss finish that won’t crack or fade, keeping your boat looking pristine season after season [6, 17]. Understanding where and why to use each type is the key to a durable, professional-quality boat finish.
![[Image Placeholder]A dramatic split-shot image of a boat. The top half of the boat is glistening with a high-gloss polyurethane finish under a bright sun. The bottom half is underwater, showing the hard, protective layer of epoxy paint. The text](https://jdmarinepaint.com/wp-content/uploads/2025/07/a-dramatic-split-shot-image-of-a-boat-the-top-hal-2.png "[Image Placeholder]A dramatic split-shot image of a boat. The top half of the boat is glistening with a high-gloss polyurethane finish under a bright sun. The bottom half is underwater, showing the hard, protective layer of epoxy paint. The text")
This guide will break down everything you need to know. We’ll explore the unique characteristics of each marine coating, compare them head-to-head, and walk you through the application process to help you make the best choice for your boat’s protection and appearance.
What Exactly is Epoxy Marine Paint, and Why is it the Foundation of Durability?
You know you need a rock-solid, waterproof barrier to protect your boat’s hull, especially below the waterline. Applying a lesser coating in this critical area is a recipe for disaster, potentially leading to water intrusion, blistering, and expensive structural damage that can ruin your boating season. Epoxy marine paint provides the solution by creating a tough, non-porous, and incredibly adhesive foundation that seals the substrate from the harsh marine environment, acting as the ultimate shield for your investment.
Epoxy marine paint is a two-part coating system consisting of a resin (Part A) and a hardener or activator (Part B) 2. When mixed, they trigger a chemical reaction that cures—or hardens—into an extremely tough and durable film. This process creates a coating with phenomenal adhesion to a wide variety of substrates, including fiberglass, wood, and properly prepared metals like steel and aluminum [3, 13]. Its key characteristic is its incredible resistance to water and chemicals, making it the industry standard for use below the waterline as a barrier coat to prevent osmosis in fiberglass hulls. While its hardness is a major advantage for impact resistance, its one significant limitation is its poor resistance to UV radiation, which causes it to chalk and yellow over time, making it unsuitable as a final topside finish 10.
The Core Composition and Key Roles of Epoxy Paint
The power of epoxy lies in its chemistry. The cross-linking reaction between the resin and hardener creates a finished film that is much stronger and more resilient than any one-part paint.
- As a Primer: Epoxy’s superior adhesion makes it the perfect foundational layer. An epoxy primer like our JDH819 Epoxy Zinc Phosphate Primer bites into the substrate, creating a tenacious bond that subsequent paint layers can adhere to reliably [1, 18]. It effectively seals the surface, preventing moisture from reaching the hull material.
- As a Barrier Coat: This is where epoxy truly shines. When applied in multiple thick coats below the waterline, it forms an impermeable barrier that is the best defense against water absorption and blistering, a common issue in fiberglass boats.
- As a Build/Fill Coat: High-build epoxy primers can also be used to fill minor imperfections and create a smooth, fair surface before the application of the final topcoat, ensuring a flawless look.
| Feature | Epoxy Marine Paint Characteristic | Ideal Application | JDmarine Product Example |
|---|---|---|---|
| Composition | Two-part (Resin + Hardener) | Universal Primer, Below Waterline | JDH815 Iron Oxide Red Epoxy Primer 5 |
| Adhesion | Excellent on multiple substrates | Priming fiberglass, metal, wood | JDH835 Aluminum Iron Epoxy Anti-Rust Paint |
| Waterproofing | Superior barrier protection | Below the waterline, bilge areas | JDH912 Epoxy Potable Water Tank Coating |
| Hardness | Very hard, high impact resistance | High-wear areas, as a primer | JDH816 Grey Epoxy Primer |
| UV Resistance | Poor; chalks and degrades in sun | Primer/undercoat ONLY for topside | Must be top-coated with Polyurethane |
What Makes Polyurethane Marine Paint the Secret to a Lasting, Mirror-Like Gloss?
Your boat’s topside looked incredible when it was freshly painted, but after just a season or two in the sun, the color has faded and the finish looks dull and chalky. This isn’t just an aesthetic problem; it’s a sign that the protective coating is breaking down, leaving the underlying structure exposed and vulnerable to the elements. You need a finish that can stand up to the relentless assault of UV rays. Polyurethane marine paint is the answer, engineered with advanced UV inhibitors and flexible resins to deliver a brilliant, long-lasting gloss that keeps your boat looking like it just left the showroom [6, 17].
Polyurethane marine paints are top-tier finishes known for their gloss retention and durability in the face of sunlight and weather. They are available in one-part and two-part formulations. One-part polyurethanes are easier to apply but generally less durable than their two-part counterparts. Two-part polyurethanes, like our JD908 Acrylic Polyurethane Topcoat, undergo a chemical cure similar to epoxies, resulting in a finish that is significantly more robust and resistant to chemicals, abrasion, and—most importantly—UV damage [4, 6]. Their chemical makeup gives them greater flexibility than epoxies, allowing the paint film to expand and contract with the boat’s surface without cracking. This combination of properties makes polyurethane the go-to choice for a beautiful and protective topside finish.
Key Characteristics for a Flawless Finish
While epoxy provides the foundational strength, polyurethane delivers the beautiful and durable finish. It’s the part of the paint system you see, and it’s built to be seen.
- Exceptional UV Resistance: This is polyurethane’s number one advantage. It contains UV blockers that prevent the sun’s rays from breaking down the paint, which means the color and gloss you apply will last for years, not months [6, 17]. For superior yellowing resistance, a product like our JD918 Acrylic Polyurethane Hull Paint is a premier choice [4, 17].
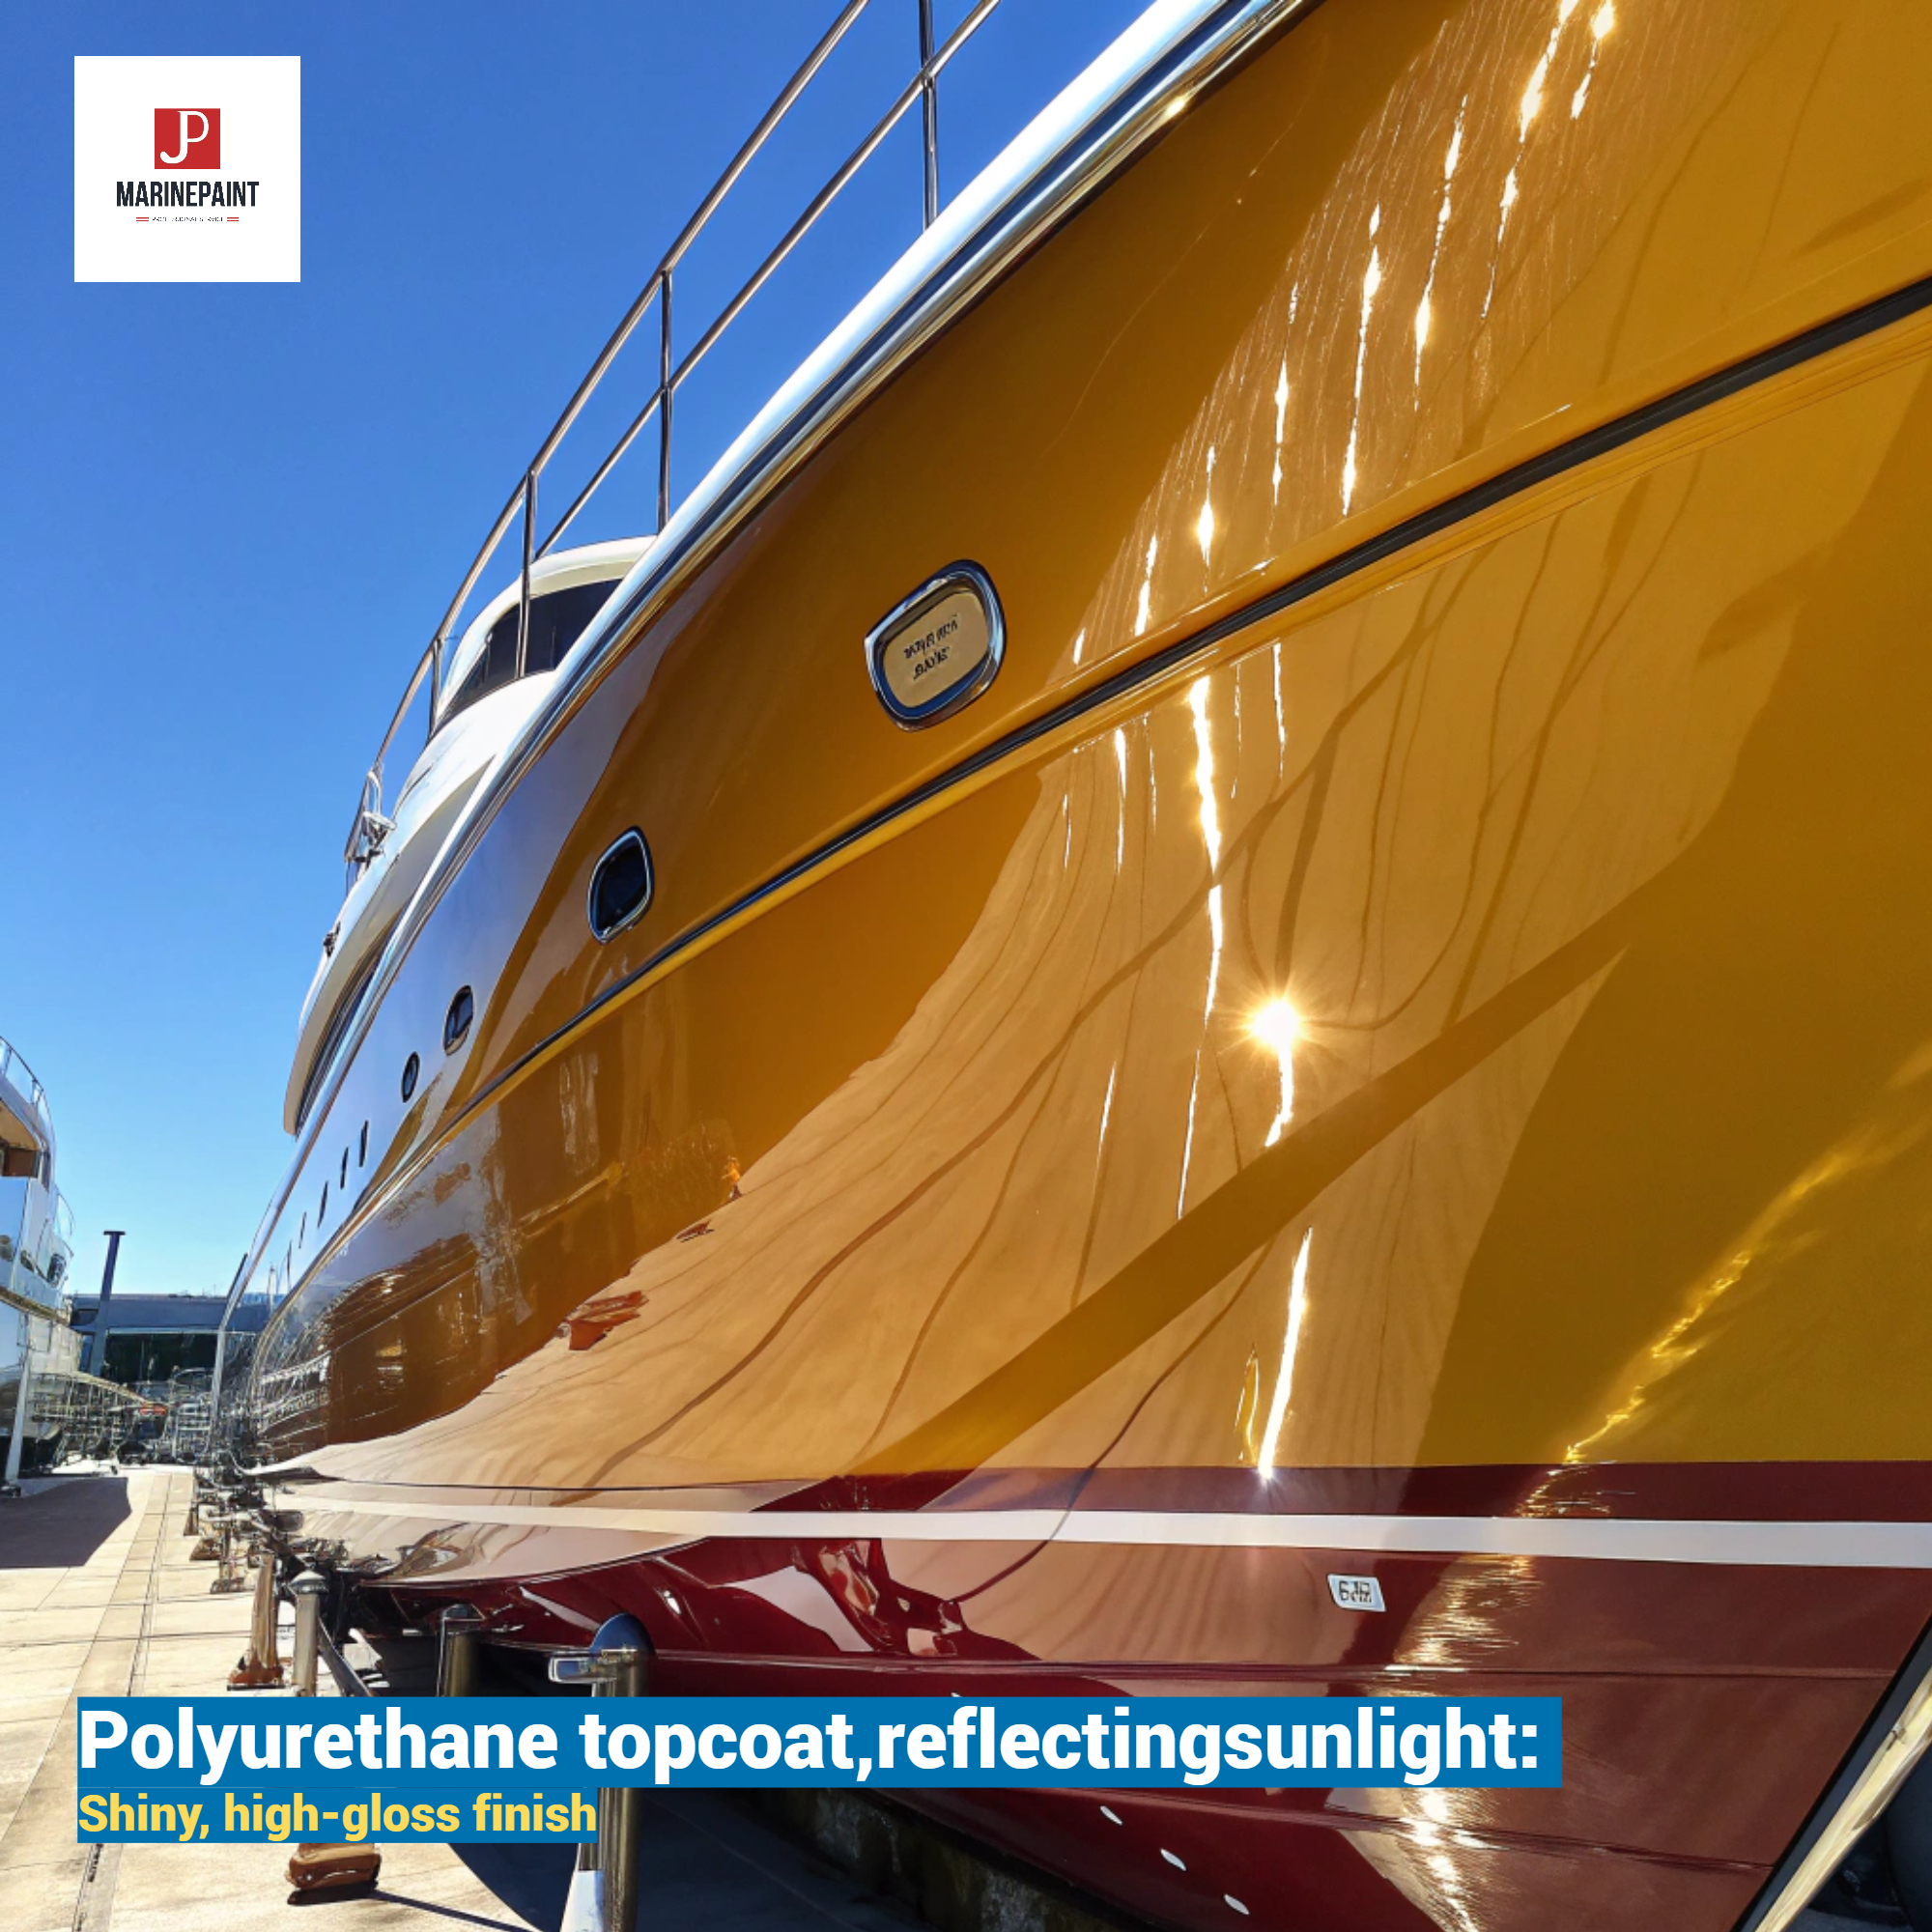
- Superior Gloss Retention: Polyurethane cures to a very smooth, non-porous surface that reflects light brilliantly, giving it that "wet look." It resists the dulling effects of weather and washing, maintaining its shine far longer than other types of marine enamel.
- Flexibility and Abrasion Resistance: The topsides of a boat flex and move. Polyurethane’s flexible nature allows it to handle these movements without developing micro-cracks. It’s also highly resistant to scuffs, scratches, and chemicals, making it perfect for decks, cabins, and hulls above the waterline.
| Feature | Polyurethane Marine Paint Characteristic | Ideal Application | JDmarine Product Example |
|---|---|---|---|
| Composition | One-part or Two-part | Topside finish coat | JD908 Acrylic Polyurethane Topcoat [4, 6] |
| UV Resistance | Excellent | Hulls, decks, superstructures | JD918 Acrylic Polyurethane Hull Paint (Yellowing resistance) [4, 17] |
| Gloss Retention | Superior, long-lasting shine | Any visible surface above the waterline | JDFT810 Fluorocarbon Topcoat (Premium Option) [15, 19] |
| Flexibility | High; prevents cracking | Areas with minor flex and expansion | All topside applications |
| Cost | Generally higher than epoxy | Long-term value as a finish coat | An investment in appearance & protection |
Epoxy vs. Polyurethane Marine Paint: A Head-to-Head Comparison?
Choosing the right paint can feel overwhelming with so many conflicting claims about durability and performance. You might be asking which one is truly tougher or easier to use, and a wrong choice could mean redoing the entire job sooner than expected. The key is to stop thinking of it as a competition and start thinking of it as a partnership. These two types of marine coatings are designed for different battlefields. Epoxy provides the brute-strength, waterproof foundation, while polyurethane delivers the flexible, UV-resistant, and beautiful finish. Using them together in the right places is the secret to a professional-grade, long-lasting paint system.
The best way to settle the epoxy vs. polyurethane marine paint debate is to understand that they are teammates, not rivals. Epoxy serves as the ideal primer and below-the-waterline protector, while polyurethane is the perfect glossy, UV-resistant topcoat. Using an epoxy primer followed by a polyurethane topcoat is the professional standard for achieving a durable and beautiful finish on any part of the boat above the waterline. This system leverages the best qualities of both products: the unparalleled adhesion and barrier protection of epoxy, combined with the aesthetic appeal and weather resistance of polyurethane.
The Ultimate Comparison Table
To make it simple, here’s a direct comparison of their key attributes:
| Feature | Epoxy Marine Paint | Polyurethane Marine Paint | The Verdict |
|---|---|---|---|
| Primary Use | Primer, barrier coat, below waterline | Topside finish coat | Teamwork: Epoxy primes, Polyurethane finishes. |
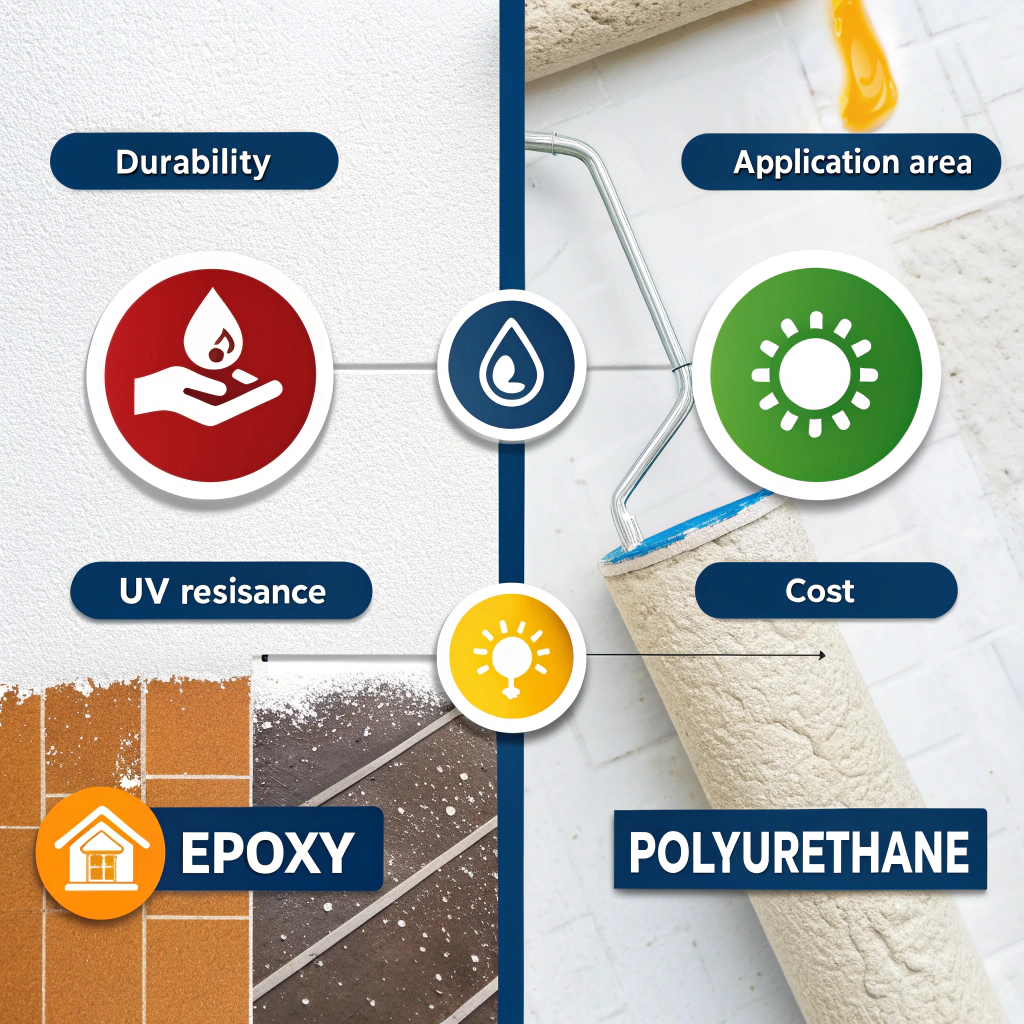
| Durability/Hardness | Extremely hard, high impact resistance, but can be brittle. | Flexible, superior scratch & abrasion resistance. | Epoxy for foundation, Polyurethane for surface wear. |
| Waterproofing | The Best. Forms an impenetrable barrier. | Good, but not designed as a barrier coat. | Epoxy is the clear winner for underwater protection. |
| UV Resistance | Poor. Chalks, yellows, and degrades in sunlight. | Excellent. Designed for maximum gloss and color retention. | Polyurethane is the only choice for a final topcoat. |
| Application | Must be topcoated if exposed to sun. | Applied over an epoxy primer for best results [3, 6]. | A two-stage system (Epoxy > Poly) is ideal. |
| Cost | Generally less expensive per gallon. | Generally more expensive per gallon. | Polyurethane provides better long-term value for topsides. |
| DIY Friendliness | Two-part system requires careful mixing and has a limited pot life 9. | One-part versions are very user-friendly. Two-part versions require similar care to epoxy. | One-part Polyurethane is easiest for beginners. |
This head-to-head analysis shows that the question isn’t which one to choose, but rather how to use them together to create a complete, high-performance marine coating system that protects your vessel from keel to masthead.
The Critical Role of Marine Primers: Why Should You Never Skip This Step?
After spending hours on sanding and cleaning, you’re tempted to just slap on that expensive topcoat and call it a day, saving time and money. But this is a critical mistake. Without a proper foundational primer, your beautiful new marine paint can peel, bubble, and fail to adhere properly, forcing you to strip it all off and start over. A quality marine primer isn’t an optional extra; it’s the essential glue that chemically and physically locks your entire paint system to the boat, ensuring a durable, long-lasting bond that will withstand the harsh marine environment.
A marine primer serves three critical functions: it provides tenacious adhesion to the substrate, it seals the surface to prevent absorption and create a uniform finish, and it acts as a "tie coat" that creates a compatible bridge between the substrate and the topcoat. Epoxy primers, like our versatile JDH263 Epoxy Tie Coat, are the gold standard because they excel at all three [1, 18]. They bond aggressively to fiberglass, gelcoat, and prepared metal, and they create the perfect surface for a polyurethane topcoat to adhere to. Skipping the primer is the number one cause of paint failure. Investing in proper priming is a core part of good boat maintenance and ensures the time and money you spend on topcoats are not wasted.
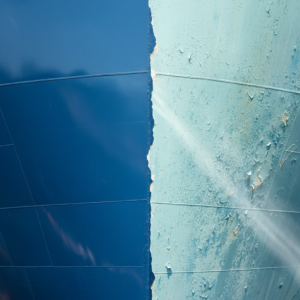
[Image Placeholder]
Prompt: A shot showing a hand brushing a thin, even coat of marine epoxy primer onto a sanded fiberglass surface. The texture difference between the sanded area and the newly primed area should be clear.
Choosing the Right Primer System
Compatibility is everything in a marine coating system. The primer and topcoat must be designed to work together.
- Epoxy Primers as a Universal Base: Two-part epoxy primers are the most reliable choice for nearly any project. They provide the best adhesion and corrosion resistance and are compatible with virtually all types of topcoats, including epoxies, polyurethanes, and traditional enamels [3, 21]. For surfaces that are difficult to clean perfectly, a tolerant primer like our JDH818 Rough Surface Epoxy Primer can provide excellent adhesion even in less-than-ideal conditions [1, 21].
- The Importance of System Compatibility: Always think of your painting project as applying a "system," not just a coat of paint. Using a primer and topcoat from the same manufacturer, like our JDmarine systems, guarantees that the products have been tested to work together chemically. This eliminates guesswork and ensures a reliable, long-lasting finish. For example, our epoxy primers are engineered to be the perfect foundation for our polyurethane topcoats [6, 18].
For a non-epoxy option on steel, a product like our JDC53-31 Red Lead Alkyd Anti-Rust Paint can be an effective anti-corrosion primer before applying an alkyd-based topcoat [5, 11]. However, for the ultimate in performance and versatility, an epoxy-based primer system is the professional’s choice.
A Step-by-Step Application Guide: How Do You Achieve a Professional Finish?
You want that "fresh from the yard," mirror-like finish, but you’re worried your DIY boat painting project will end up looking streaky, bumpy, and unprofessional. A botched application isn’t just an eyesore; it can compromise the paint’s protective qualities, leading to premature failure and forcing you to do the work all over again. The good news is that achieving a professional-quality result is entirely possible for a dedicated DIYer. By meticulously following a proven, step-by-step process focused on preparation and technique, you can produce a flawless, durable boat finish you’ll be proud of.
The secret to a great paint job is 90% preparation and 10% application. Rushing the prep work is the most common mistake. The goal is to create a surface that is clean, dry, and has a texture profile—or "tooth"—for the new paint to grip onto. After that, using the right application technique will deliver that smooth, glossy look you’re after.
H3: Surface Preparation: The Foundation of a Flawless Paint Job
This is the most critical and time-consuming stage, but it’s one you cannot afford to skip. For a deep dive into this topic, this guide on surface preparation is an excellent resource.
- Clean Thoroughly: Start by washing the entire surface with a strong boat soap and water to remove dirt, salt, and grime. Follow this with a solvent or dewaxing agent to eliminate any residual wax, grease, or silicone, which are enemies of paint adhesion 12.
- Repair Damage: Inspect the hull and deck for any dings, scratches, or gouges. Fill these imperfections with a suitable marine-grade epoxy filler and sand them fair once cured.
- Sand Everything: Sanding is non-negotiable. It removes the oxidized outer layer of old paint or gelcoat and creates the mechanical "tooth" necessary for the primer to adhere. For most jobs, sanding with 80-120 grit paper to start, followed by a finer 220-grit before the final topcoat, is a good regimen 12. Always wear a dust mask and eye protection.
- Final Wipe-Down: After sanding, vacuum the entire surface to remove the bulk of the dust. Then, wipe it down with a clean cloth and a dedicated solvent or denatured alcohol. The final step before painting should be a wipe with a tack cloth to pick up any remaining dust particles.
H3: Application Techniques: Roll and Tip vs. Spraying
With a perfectly prepped surface, you’re ready for application.
- Roll and Tip Method: This is the best technique for DIYers to achieve a nearly spray-quality finish without expensive equipment. One person uses a high-density foam roller to apply a thin, even coat of paint (the "roll"). A second person immediately follows with a high-quality badger hair brush, using light, vertical strokes to smooth out the roller texture and pop any bubbles (the "tip"). Working in small, manageable sections is key.
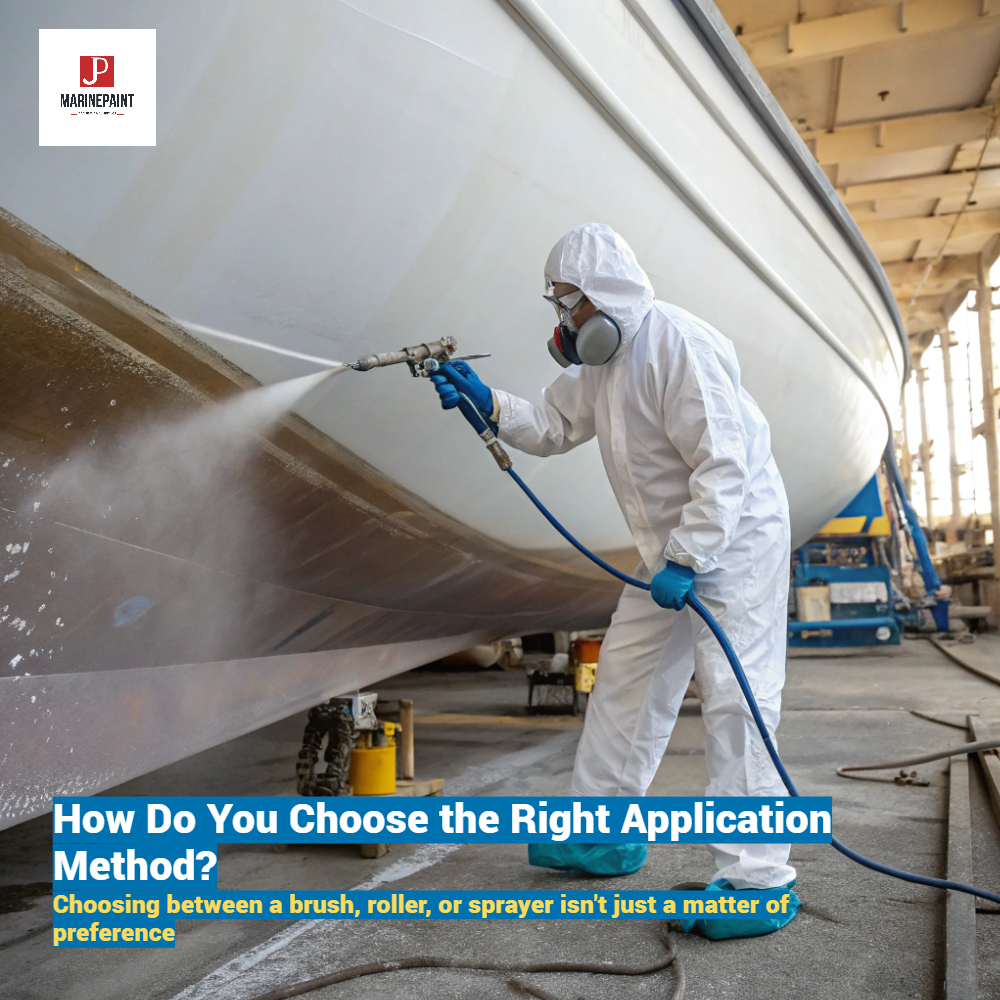
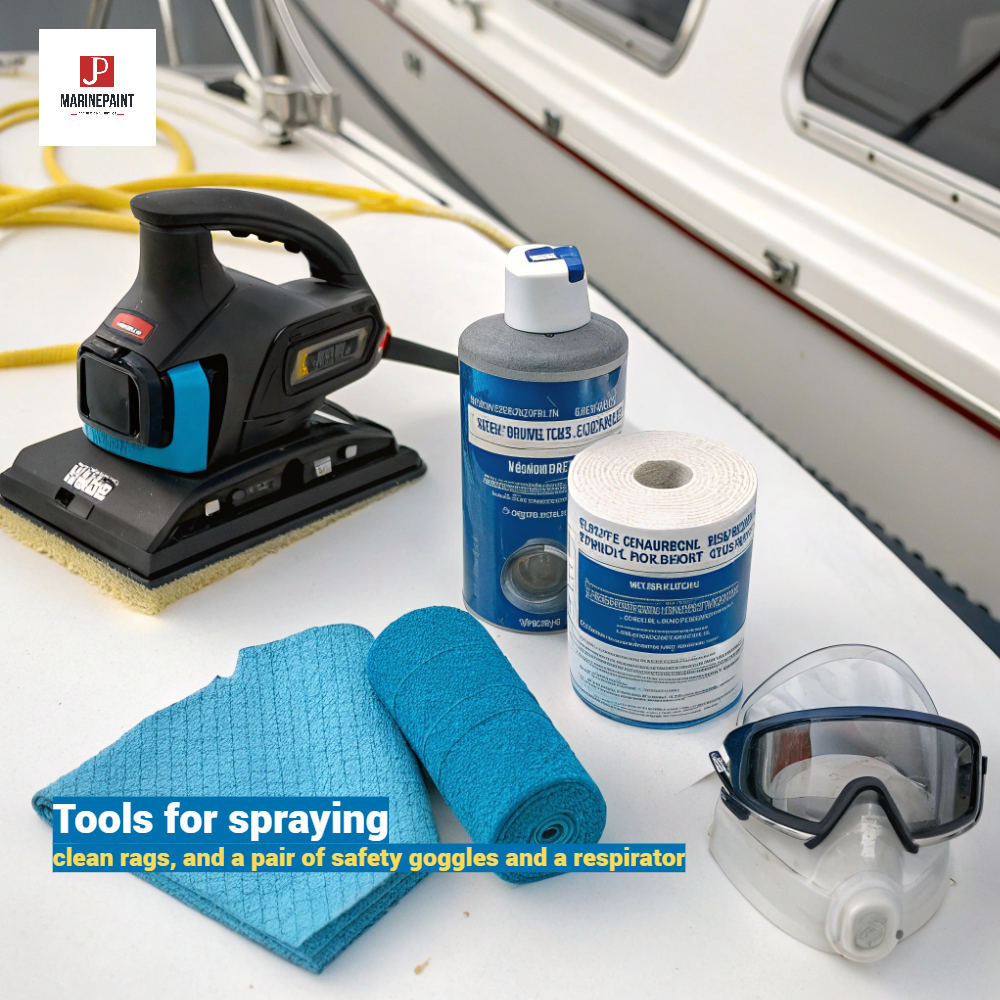
- Spraying: For the ultimate professional finish, spraying is the way to go 9. It delivers a perfectly even coat in less time. However, it requires a significant investment in equipment (sprayer, compressor, hoses) and extensive safety measures. If you choose to spray, you must use a respirator with organic vapor cartridges, coveralls, and ensure you have adequate ventilation. Always follow all recommended safety precautions when spraying two-part paints.
FAQs: Answering Your Top Questions on Epoxy vs. Polyurethane Marine Paint?
Here are quick, direct answers to some of the most common questions boat owners have when deciding between these two powerful marine coatings.
Which marine paint is best for fiberglass boats?
It’s a two-part answer. For the best protection against water intrusion and blisters (osmosis), you should apply an epoxy primer as a barrier coat below the waterline and as a foundational primer everywhere else 13. For the topside finish (hull sides, deck, and cabin), a two-part polyurethane paint is best because of its superior UV resistance and gloss retention.
Can you put polyurethane marine paint over epoxy paint?
Yes, absolutely! This is the recommended professional system. An epoxy primer creates the perfect adhesive and sealed base for a polyurethane topcoat [3, 6, 22]. You get the best of both worlds: the tenacious grip and barrier protection of epoxy, with the beautiful, durable, and UV-resistant finish of polyurethane. Just ensure the epoxy primer is fully cured and properly prepped (usually a light scuff sand) per the manufacturer’s instructions before applying the topcoat.
How long does marine paint last?
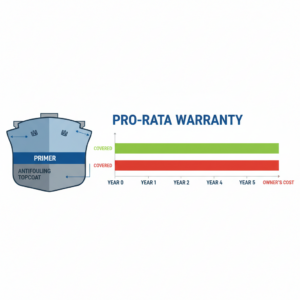
This varies greatly depending on the type of paint, preparation quality, environmental conditions (sun exposure, saltwater vs. freshwater), and usage. A high-quality two-part polyurethane topcoat over a proper epoxy primer can last 5-10 years or more, while a one-part enamel might only last 2-3 years in a sunny climate. Epoxy bottom paints, protected from UV, can last for many years, but are usually covered by antifouling paint which needs regular reapplication.
Which is more waterproof, epoxy or polyurethane for my boat?
Epoxy marine paint is significantly more waterproof. Its tightly cross-linked molecular structure creates a non-porous barrier that is the industry standard for preventing water absorption and blistering, especially on fiberglass hulls below the waterline 3. While polyurethane is water-resistant, it is not designed to be a submersible barrier coat; its main job is to protect against sun and weather on the topside.
What are some key tips for a DIY boat painting project?
- Preparation is Everything: Don’t cut corners on cleaning, sanding, and repairing the surface 12. A perfect surface is the key to a perfect finish.
- Follow the System: Use a compatible primer and topcoat, preferably from the same manufacturer.
- Mind the Conditions: Paint in a dry, well-ventilated space, and avoid painting when the temperature or humidity is outside the manufacturer’s recommended range.
- Measure and Mix Carefully: For two-part paints, precision is critical. Follow the mix ratios exactly and respect the pot life 9.
- Thin Coats are Best: Apply multiple thin, even coats rather than one thick one. This results in a smoother finish and better curing.
Conclusion: Making the Final Choice in the Epoxy vs. Polyurethane Debate
In the epoxy vs. polyurethane marine paint showdown, the winner is teamwork. Use epoxy for its foundational strength and waterproofing below the waterline, and polyurethane for its brilliant, UV-resistant finish above.
With the right knowledge, you can choose the perfect marine paint system to protect your investment and keep it looking its best for years to come.
![]()